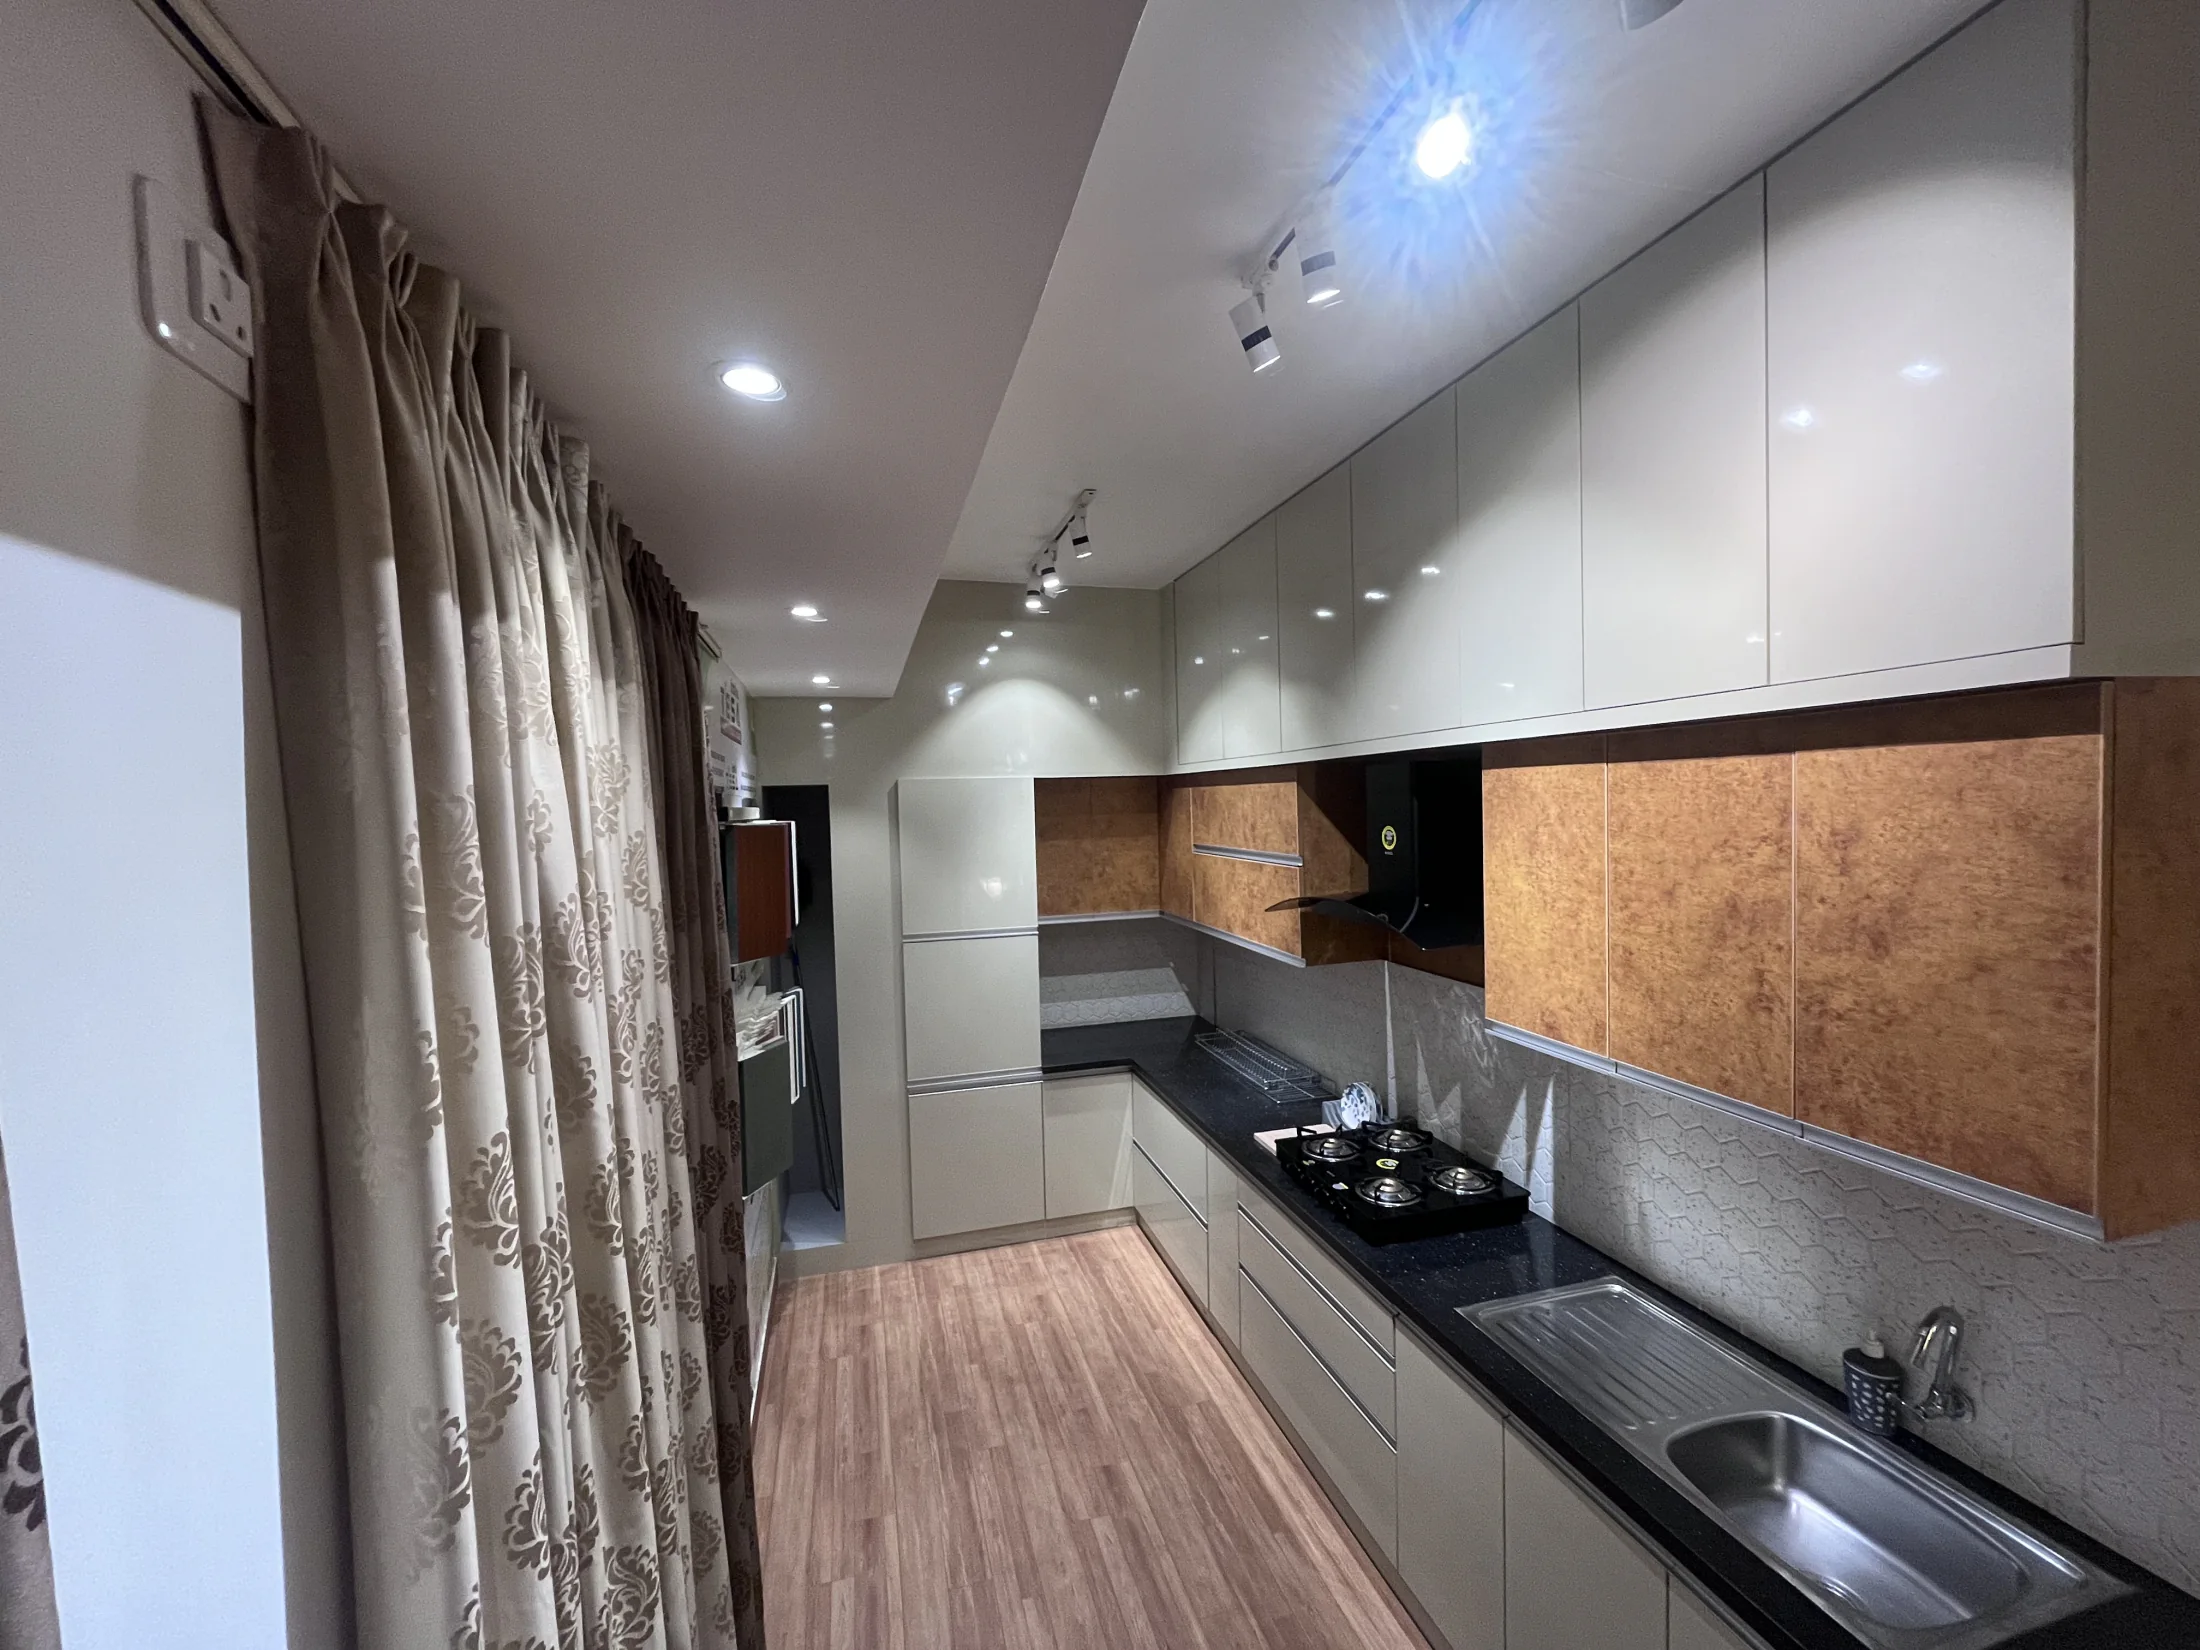
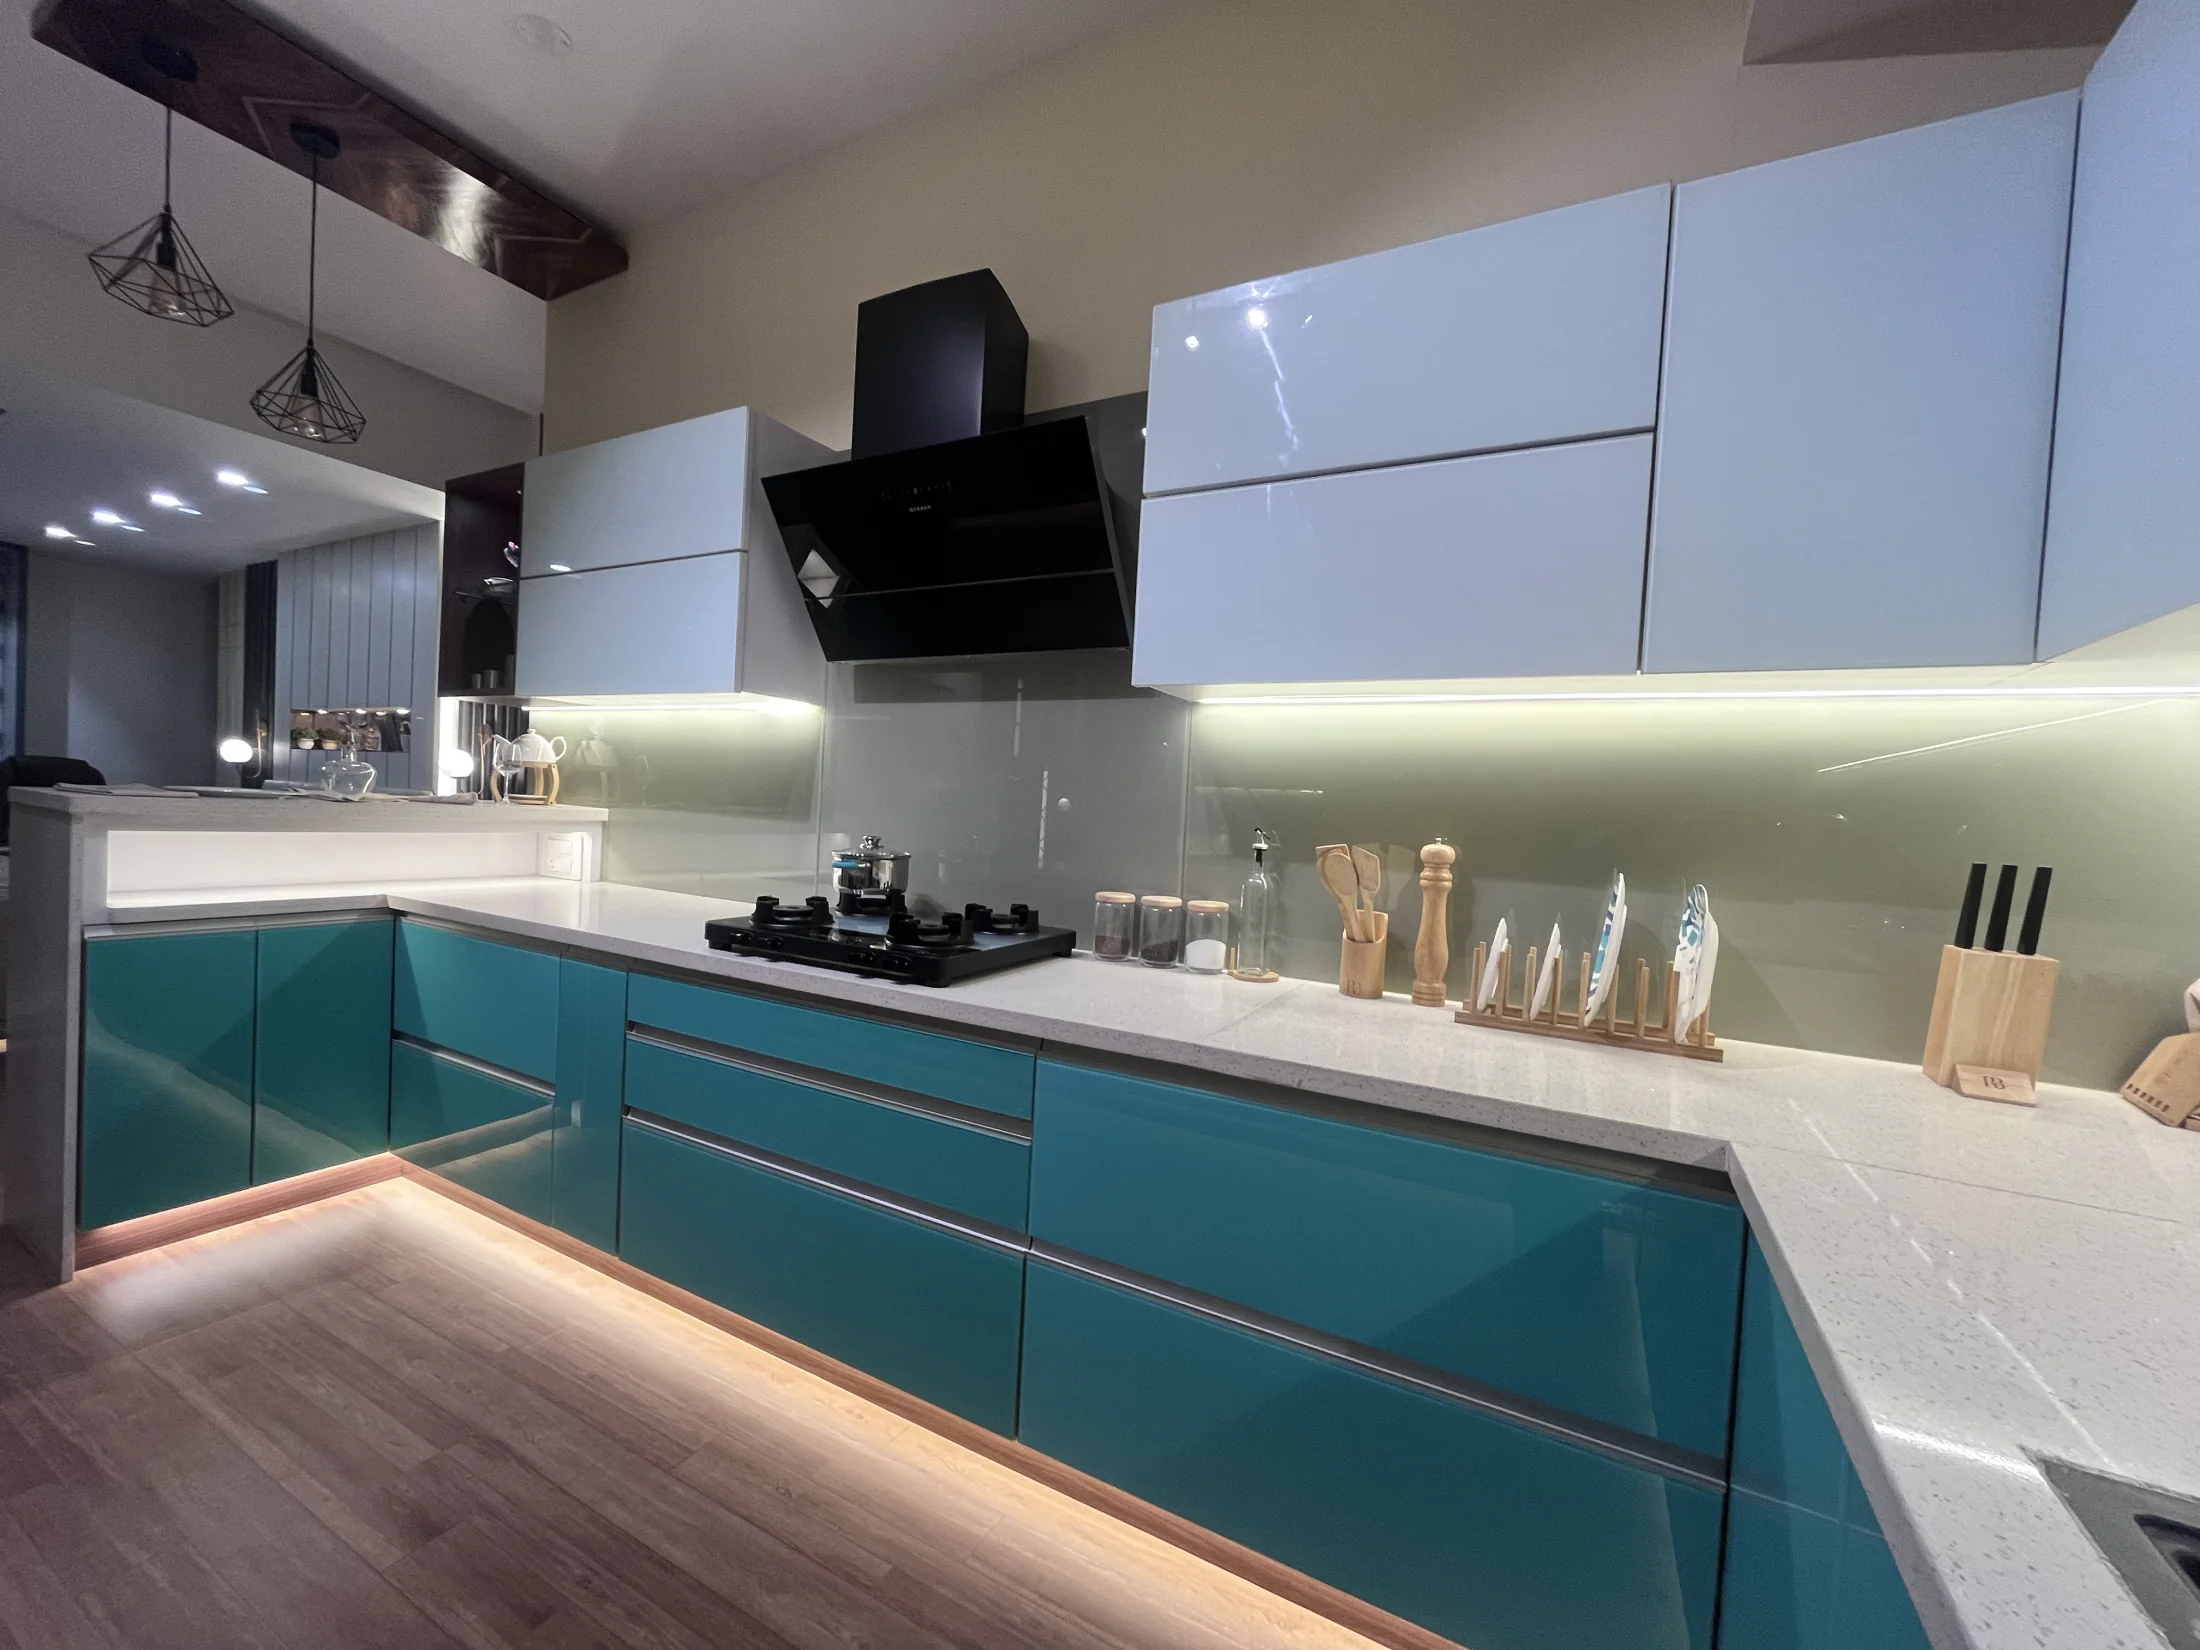
A kitchen plan should connect how you cook with the room, appliances, services and storage. Start with tasks and clearances; choose the visible finish after the layout works.
- 01PeopleWho cooks and how
- 02TasksStore, wash, prepare and cook
- 03AppliancesModels and clearances
- 04ServicesWater, power and exhaust
- 05StorageEveryday reach and load
- 06InspectOpen, test and record
1. Write a one-page cooking brief
List who cooks, how many people use the kitchen together, the meals prepared most often, the equipment used daily and the groceries bought in bulk. Add needs such as a seated work position, child-safe storage or easy reach for older family members.
Sort activities into storing food, washing, preparing, cooking, serving and cleaning. The labels are less important than keeping frequently connected tasks close to each other. See Blum's official cabinet planning tool for one optional way to explore cabinet options.
2. Test movement, doors and working clearances
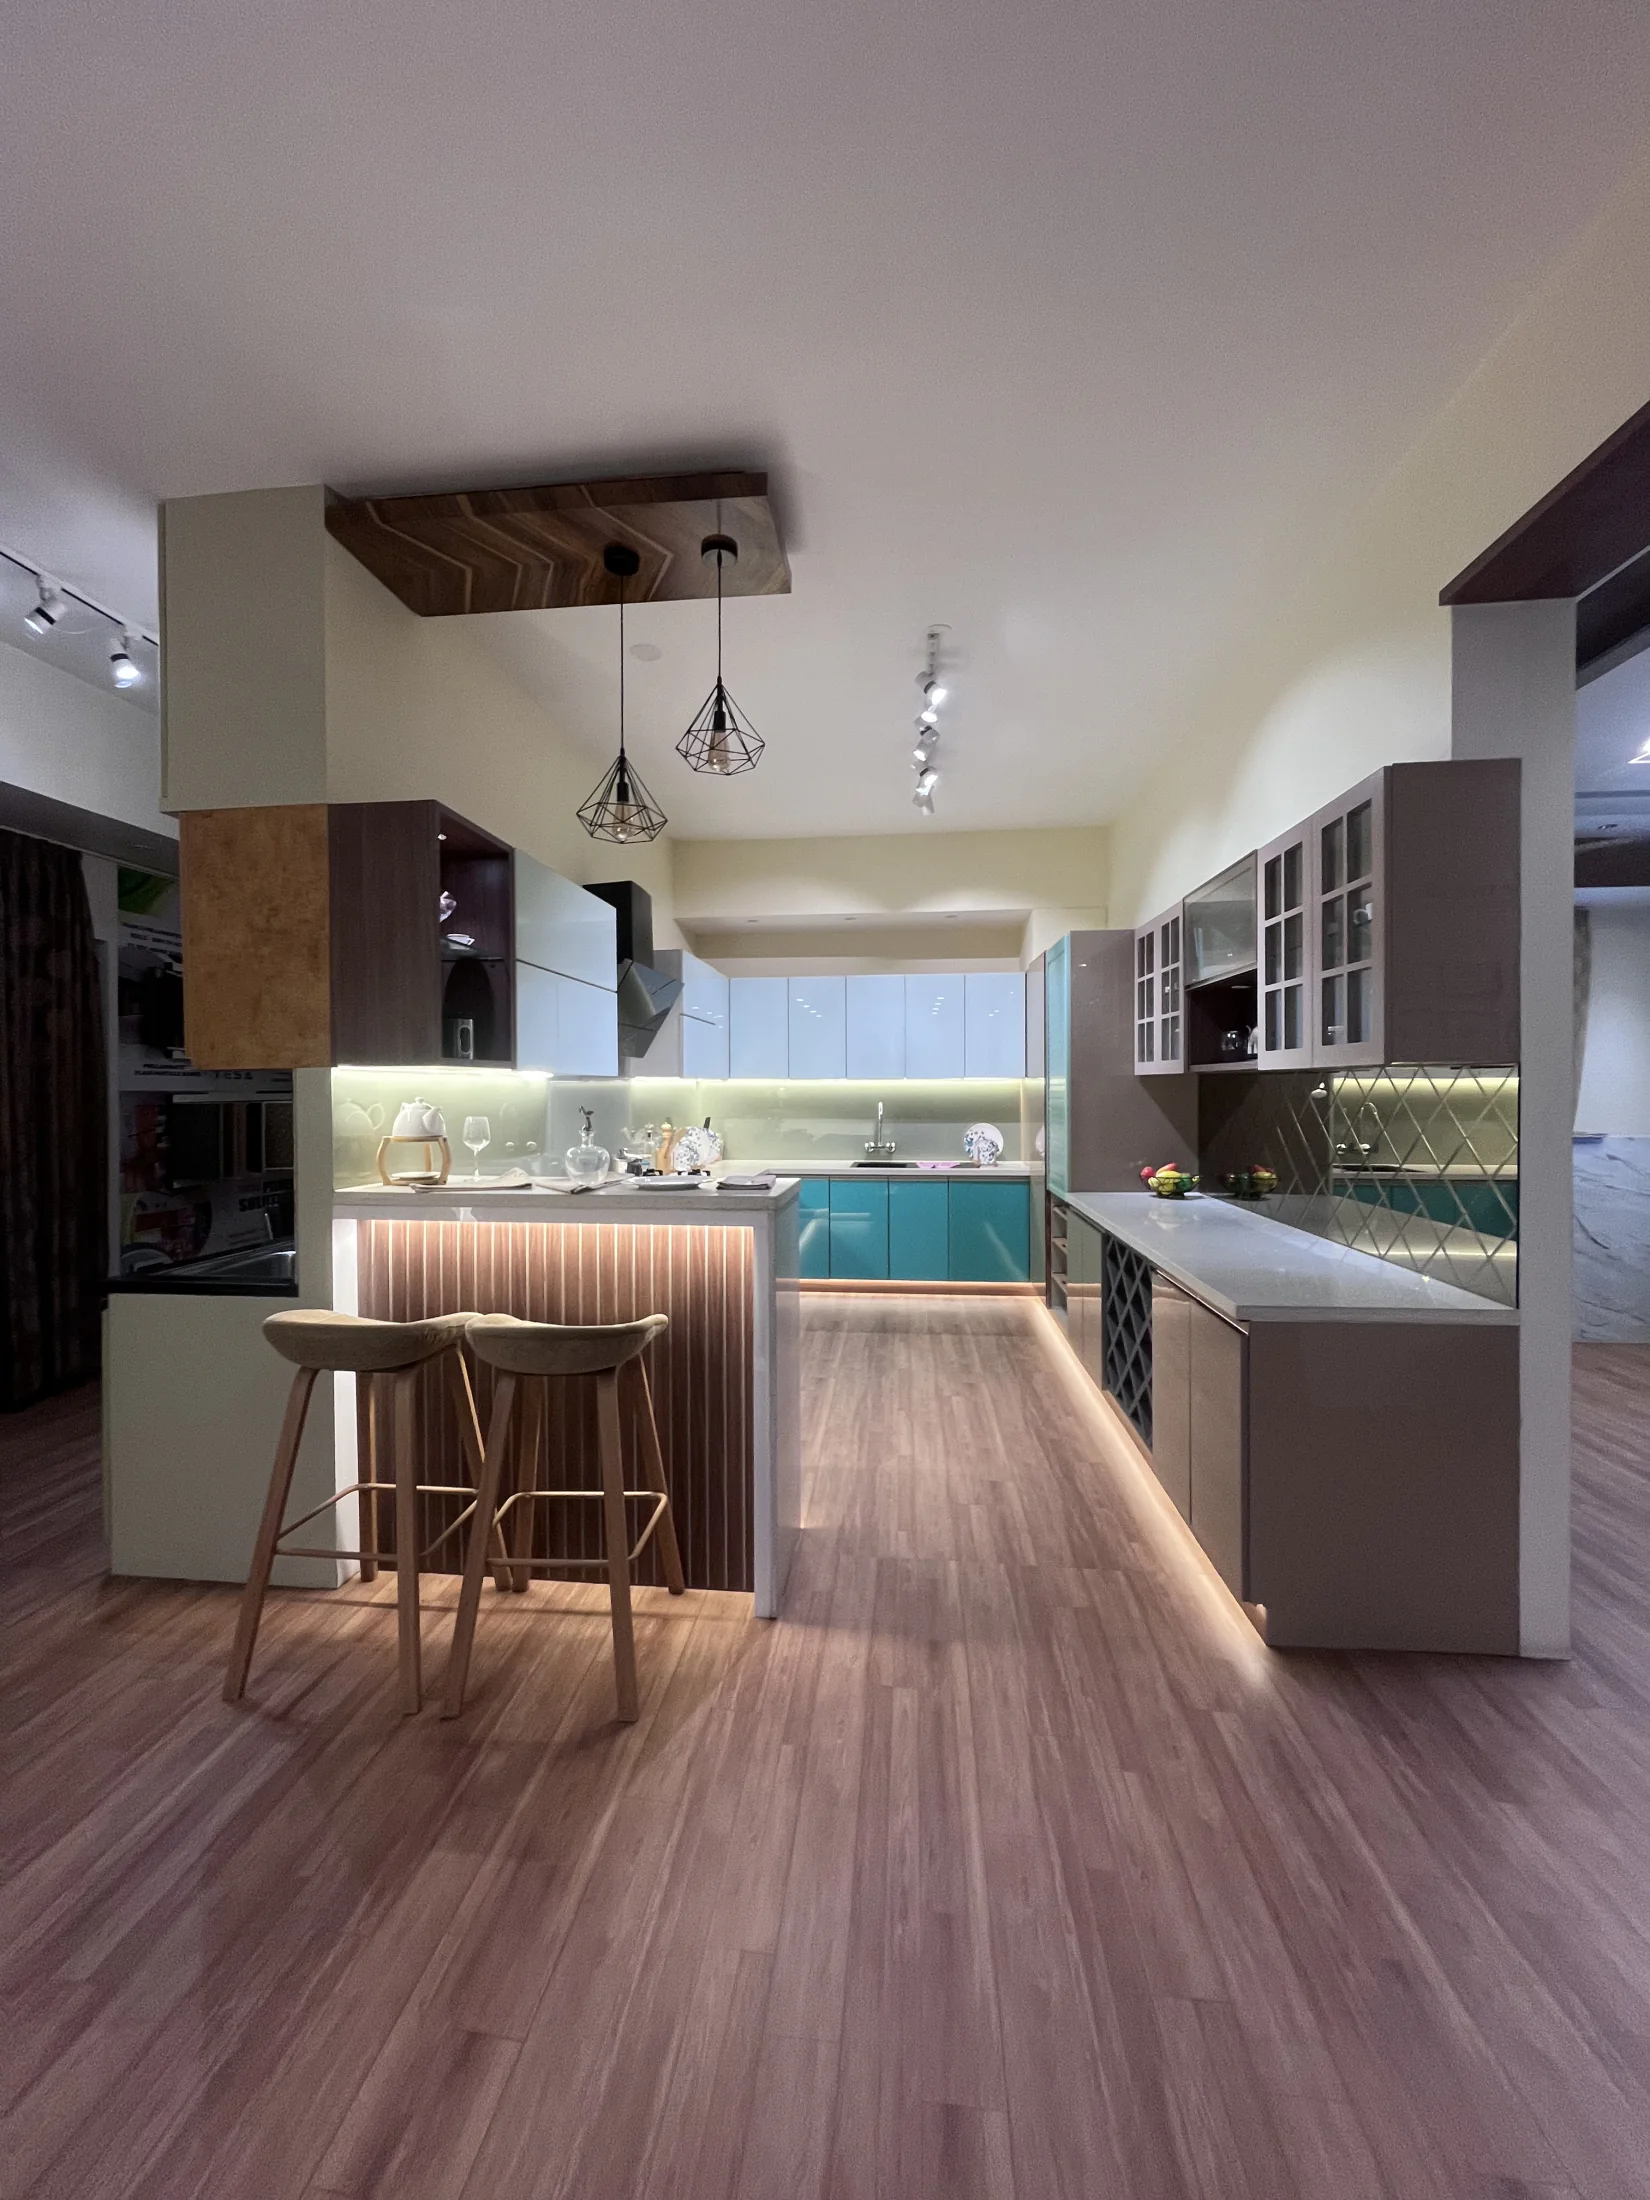
Draw the room with doors, windows and structural points. Then place the refrigerator, sink, main preparation surface and hob. Check how people enter, pass each other, open shutters and pull out drawers. The best arrangement depends on the actual room and household; a named shape such as L-shaped or parallel is only a starting point.
Open every planned door on the drawing. Check the refrigerator, dishwasher, oven, corner shutters, tall units and adjacent room doors. Confirm that handles and worktop projections do not collide.
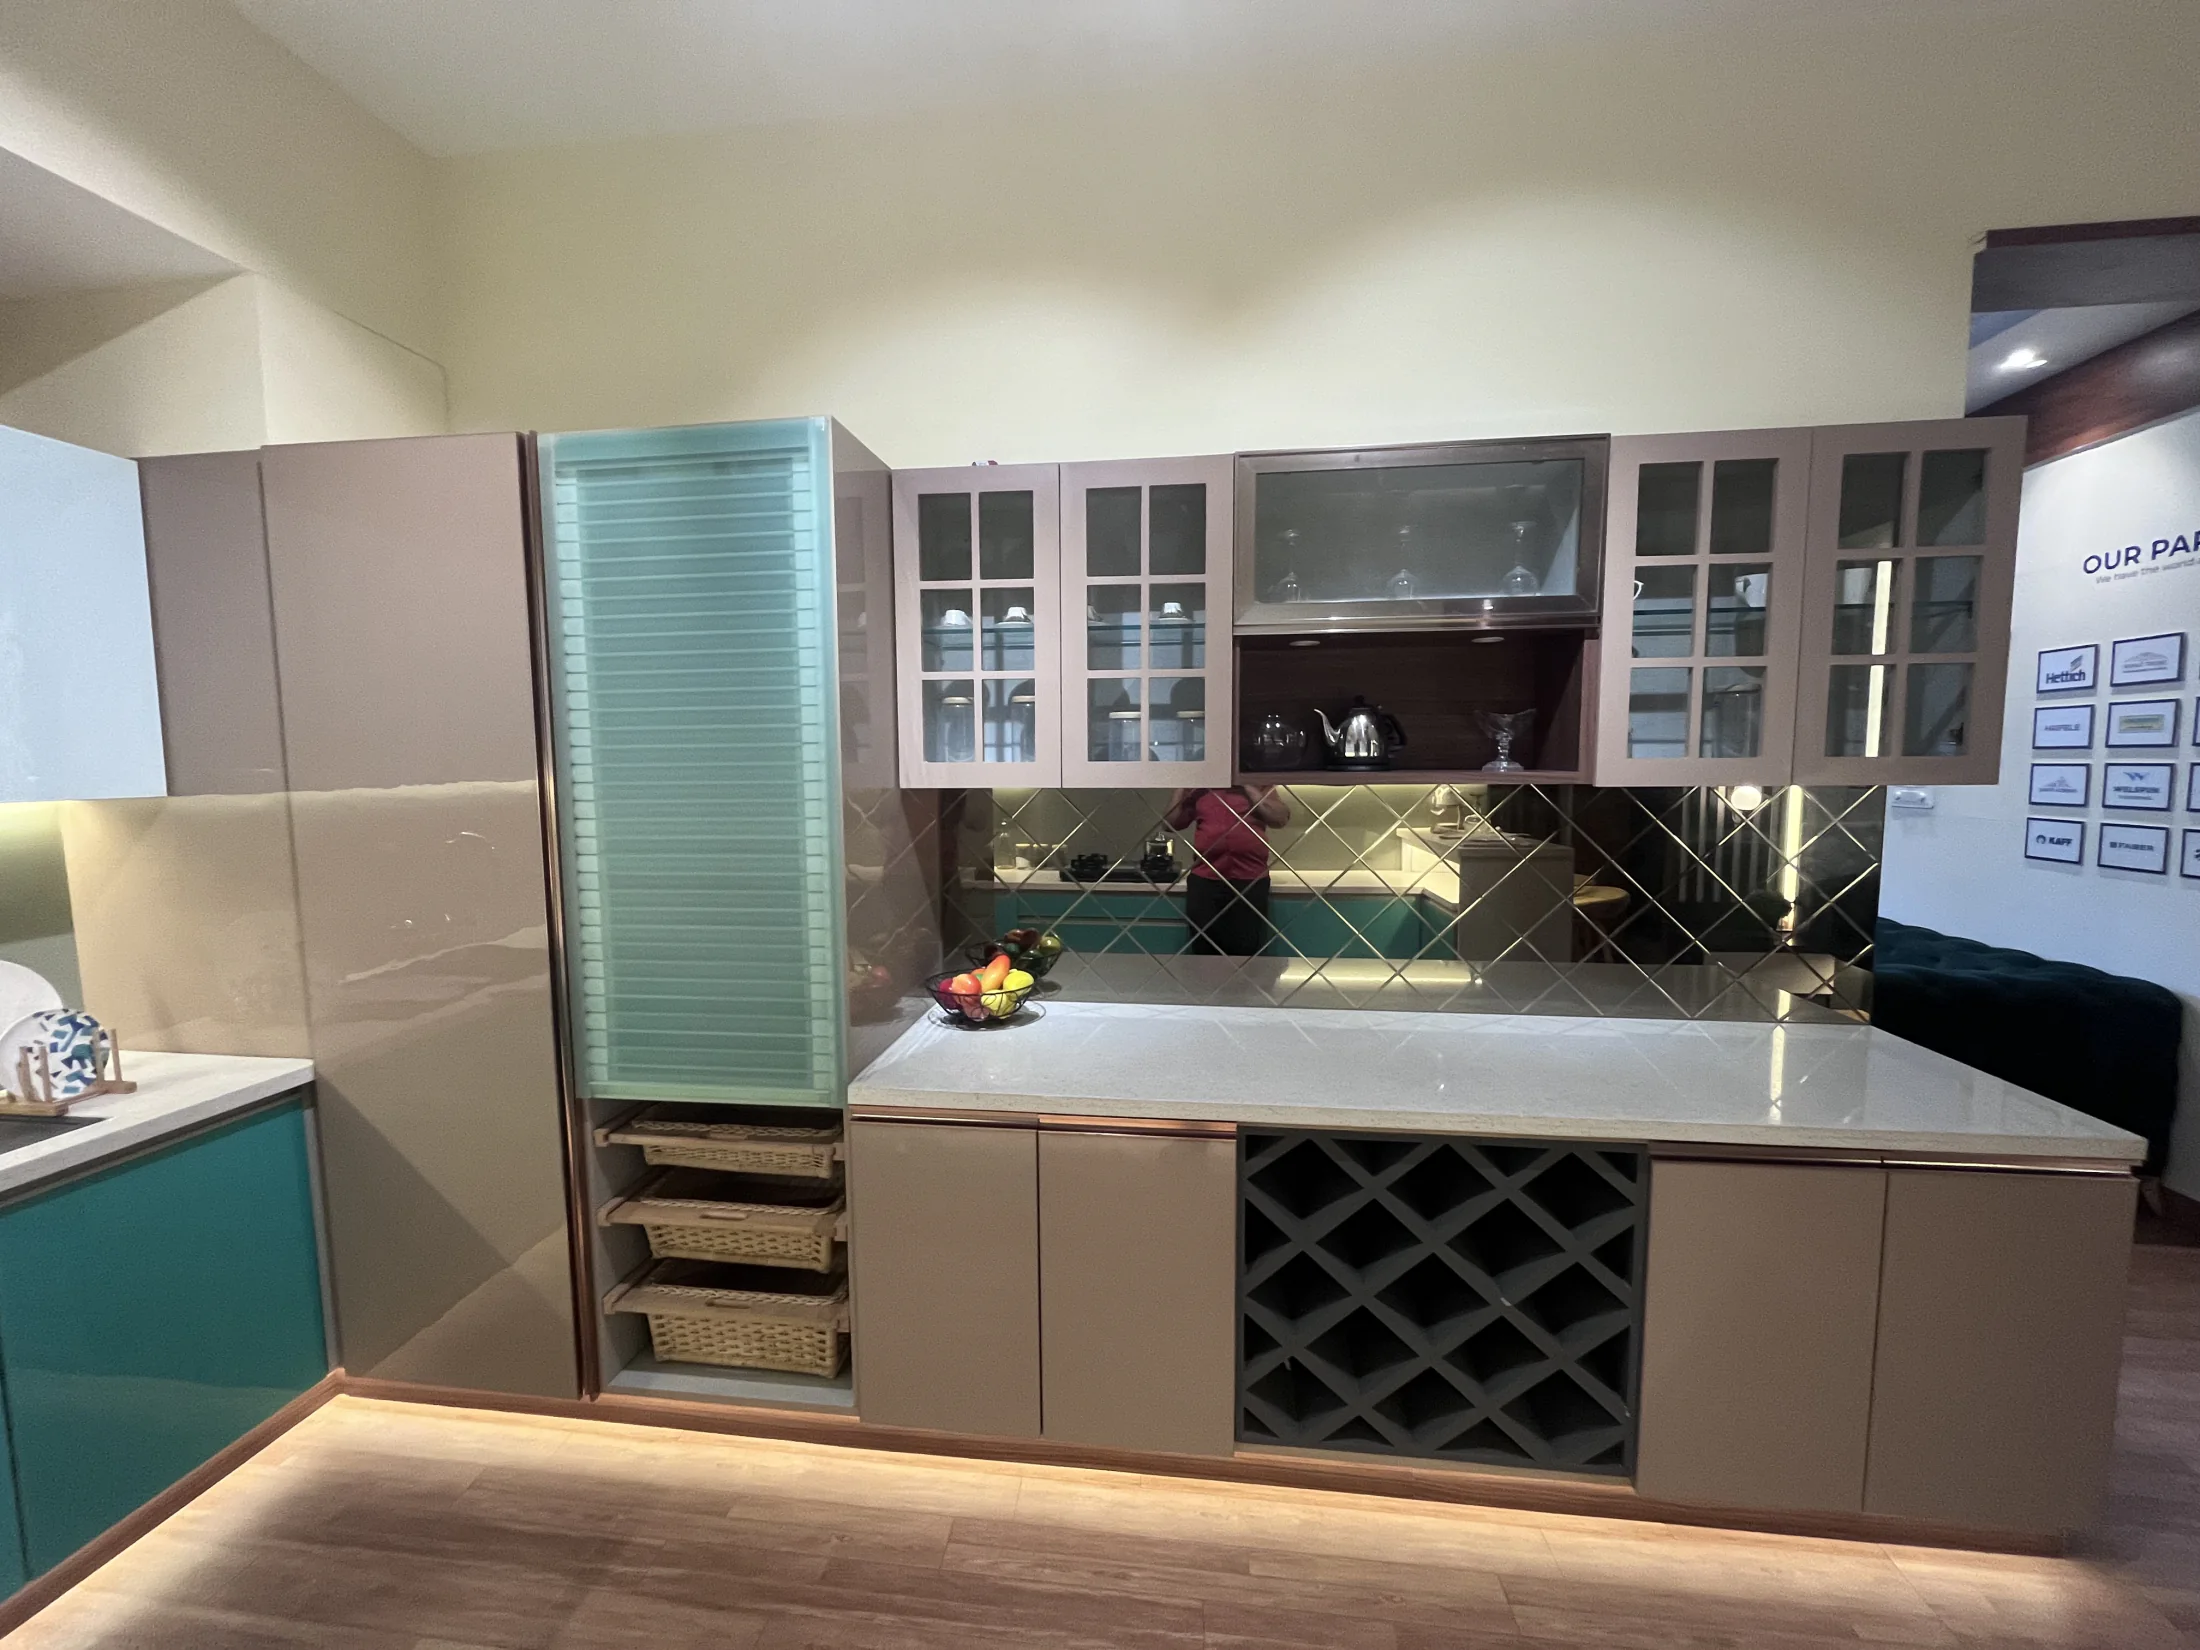
3. Freeze appliances and services before final production
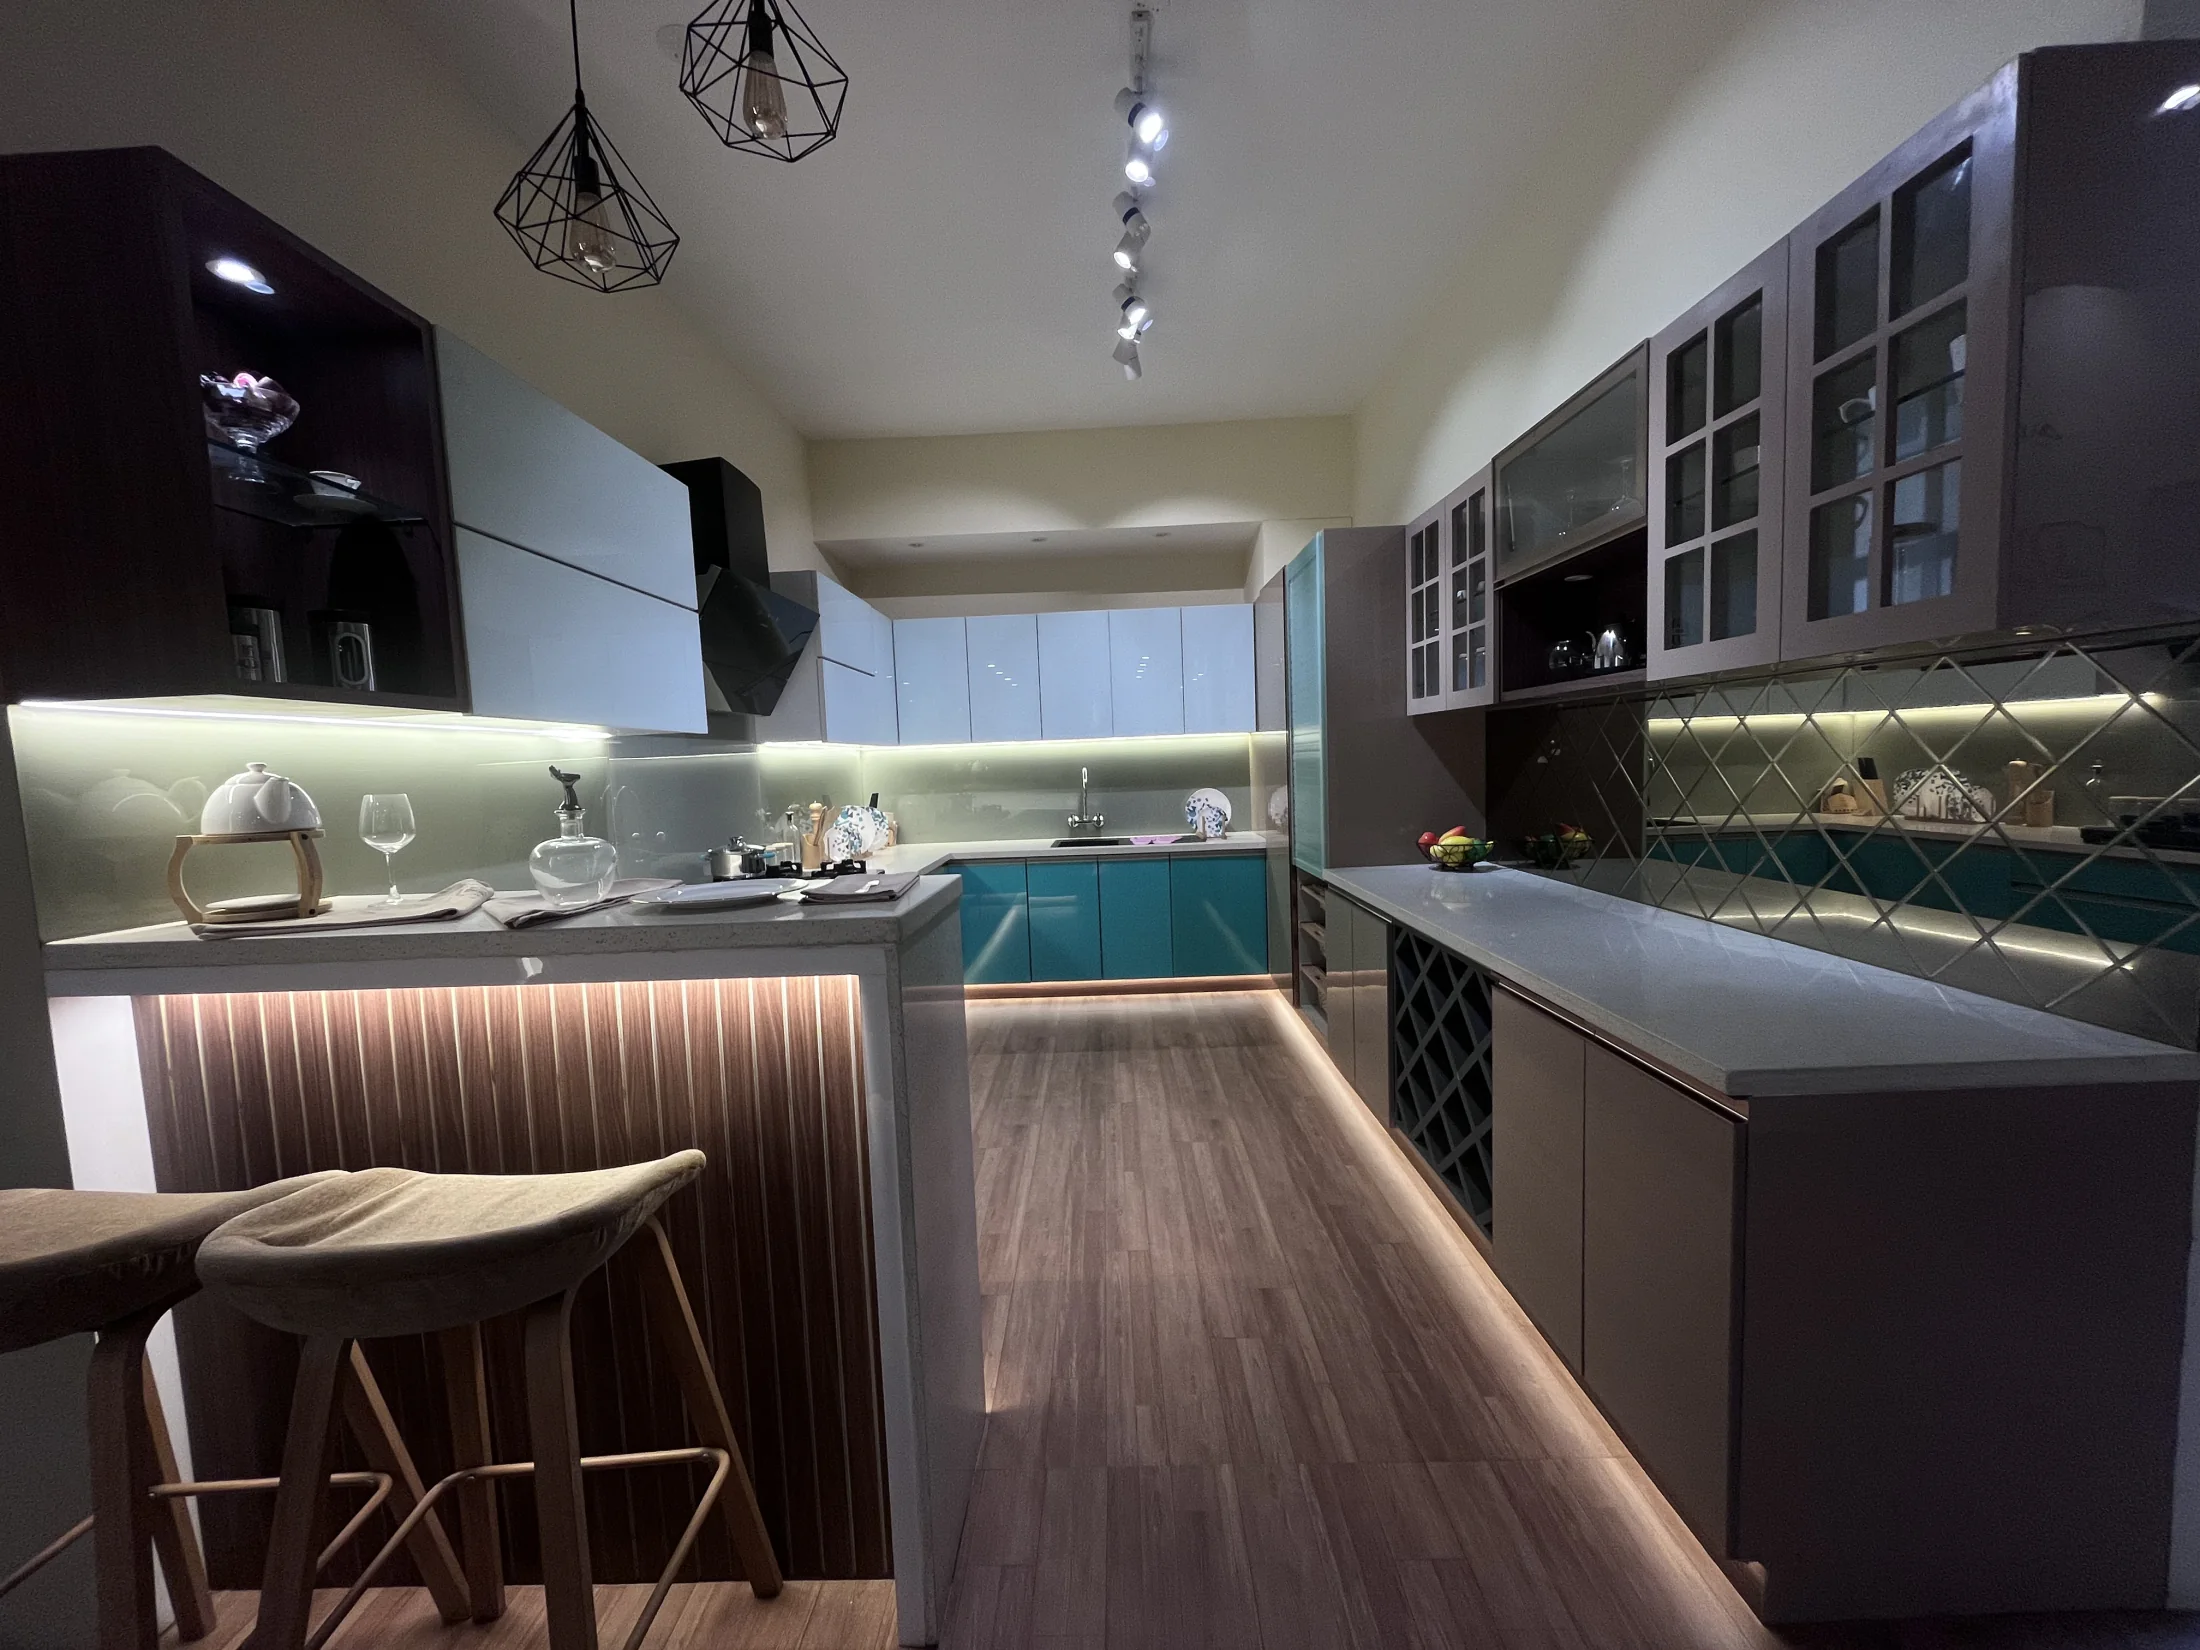
Record the exact model or final dimensions for the refrigerator, hob, chimney, oven, microwave, dishwasher, water purifier and washing machine if present. Keep the manufacturer's ventilation and electrical requirements with the drawing.
Mark water inlet, waste, gas route, sockets, dedicated power, chimney duct and task lighting. Ask who moves each service and when it will be checked. Avoid concealing joints that require routine access.
4. Put daily items in easy reach
List cookware, plates, groceries, small appliances, cleaning supplies and waste separation. Put frequent and heavier items where they can be reached safely. Use tall or difficult storage for light, occasional items. Ask what dividers, baskets and internal accessories are included rather than assuming they come with the cabinet.
Blum's official inner-dividing overview shows how adjustable organisation can be planned; treat it as an example, not a required product.
5. Inspect the kitchen by using it
Open every shutter and drawer fully. Test soft-close movement where specified, alignment, handles, lights and provided points. Fit or measure appliances, run water where the site permits, inspect sink and worktop junctions, and record every pending item in one shared list.
Your kitchen planning checklist
- Write who cooks and the main daily tasks.
- Place storage, washing, preparation and cooking zones.
- Test walking space and every door opening.
- Confirm appliance models and manufacturer clearances.
- Mark water, waste, power, gas, duct and lighting.
- Keep service points accessible.
- List daily, heavy and occasional storage separately.
- Name internal accessories and hardware in the quote.
- Approve materials, finishes and handles from samples.
- Open, test, inspect and record pending work.
Bring this checklist, your floor plan and appliance list to the first kitchen meeting. Use the room-by-room budget guide to keep the kitchen scope comparable across quotes.
Share your floor plan with SK Spaces.
Include your home size, location and the rooms you want to work on.
Share my floor plan