There is no useful one-number answer until the rooms, units, materials and site responsibilities are clear. Build the scope first, then ask for prices against the same list.
- 01RoomsWhich spaces are included
- 02UnitsWhat will be made
- 03SpecificationBoard, finish and hardware
- 04Site workConnected trades and preparation
- 05Change roomUnresolved choices and later changes
1. Build a room list before asking what interiors cost
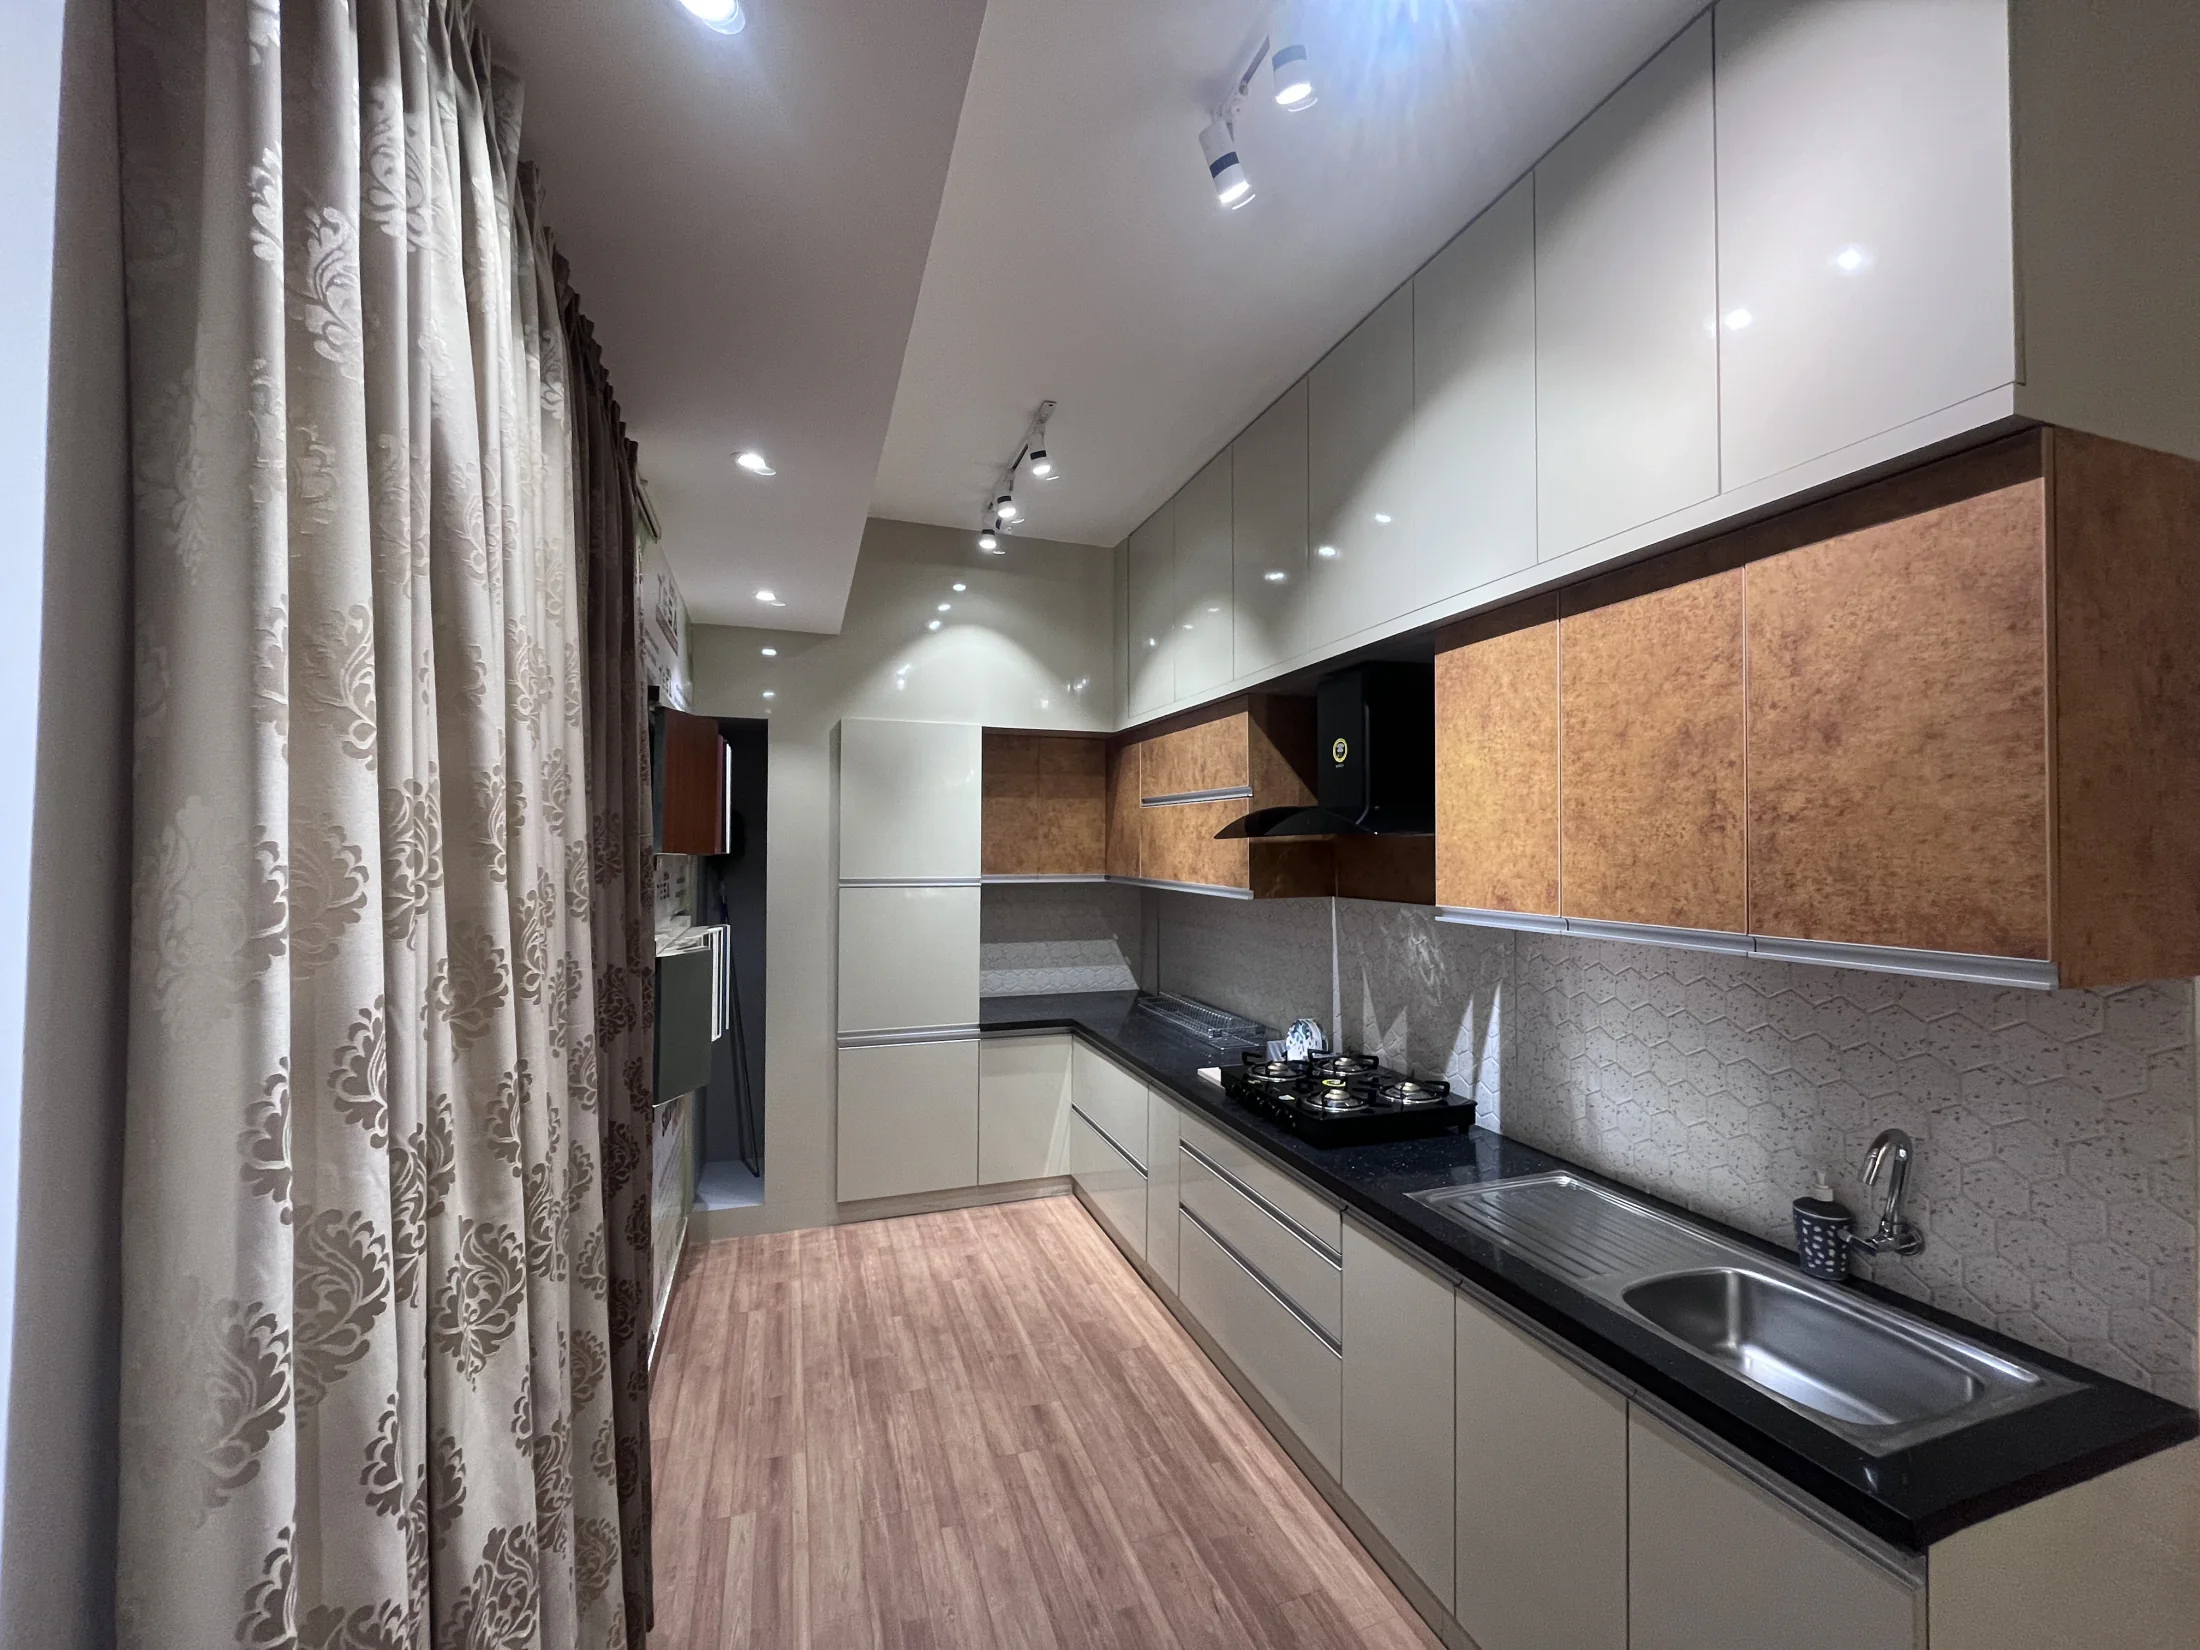
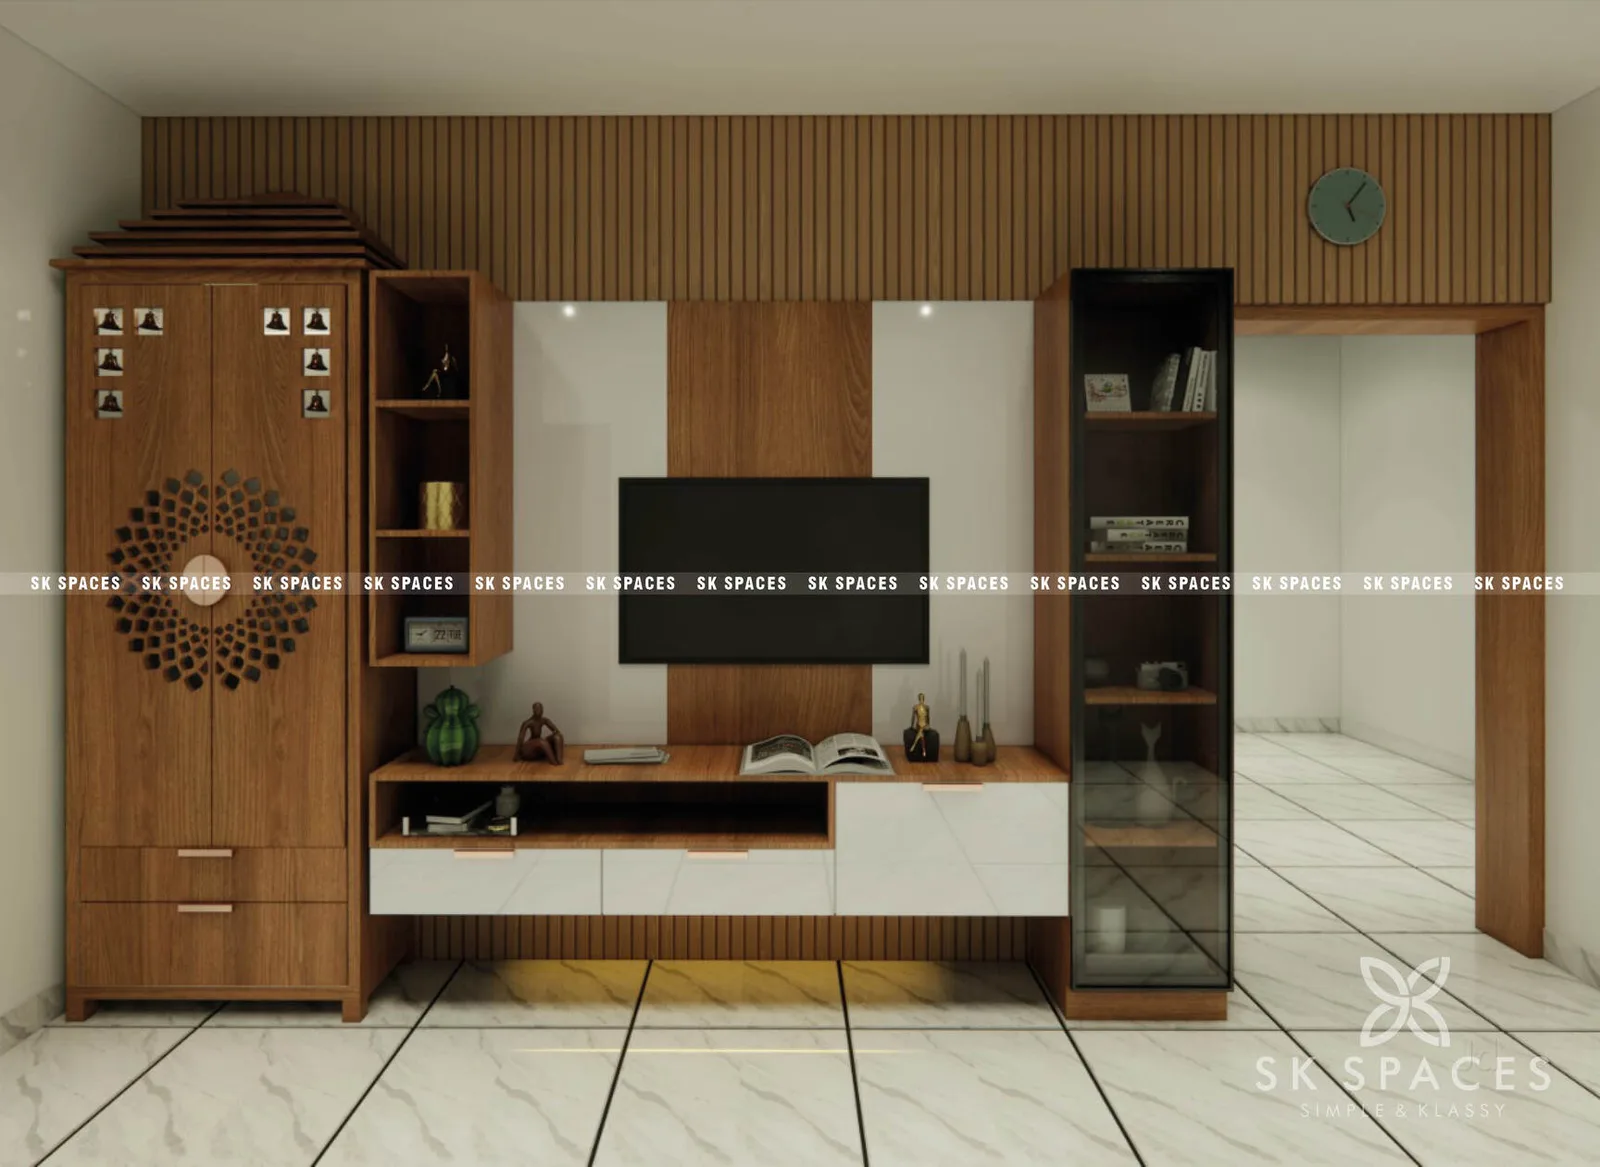
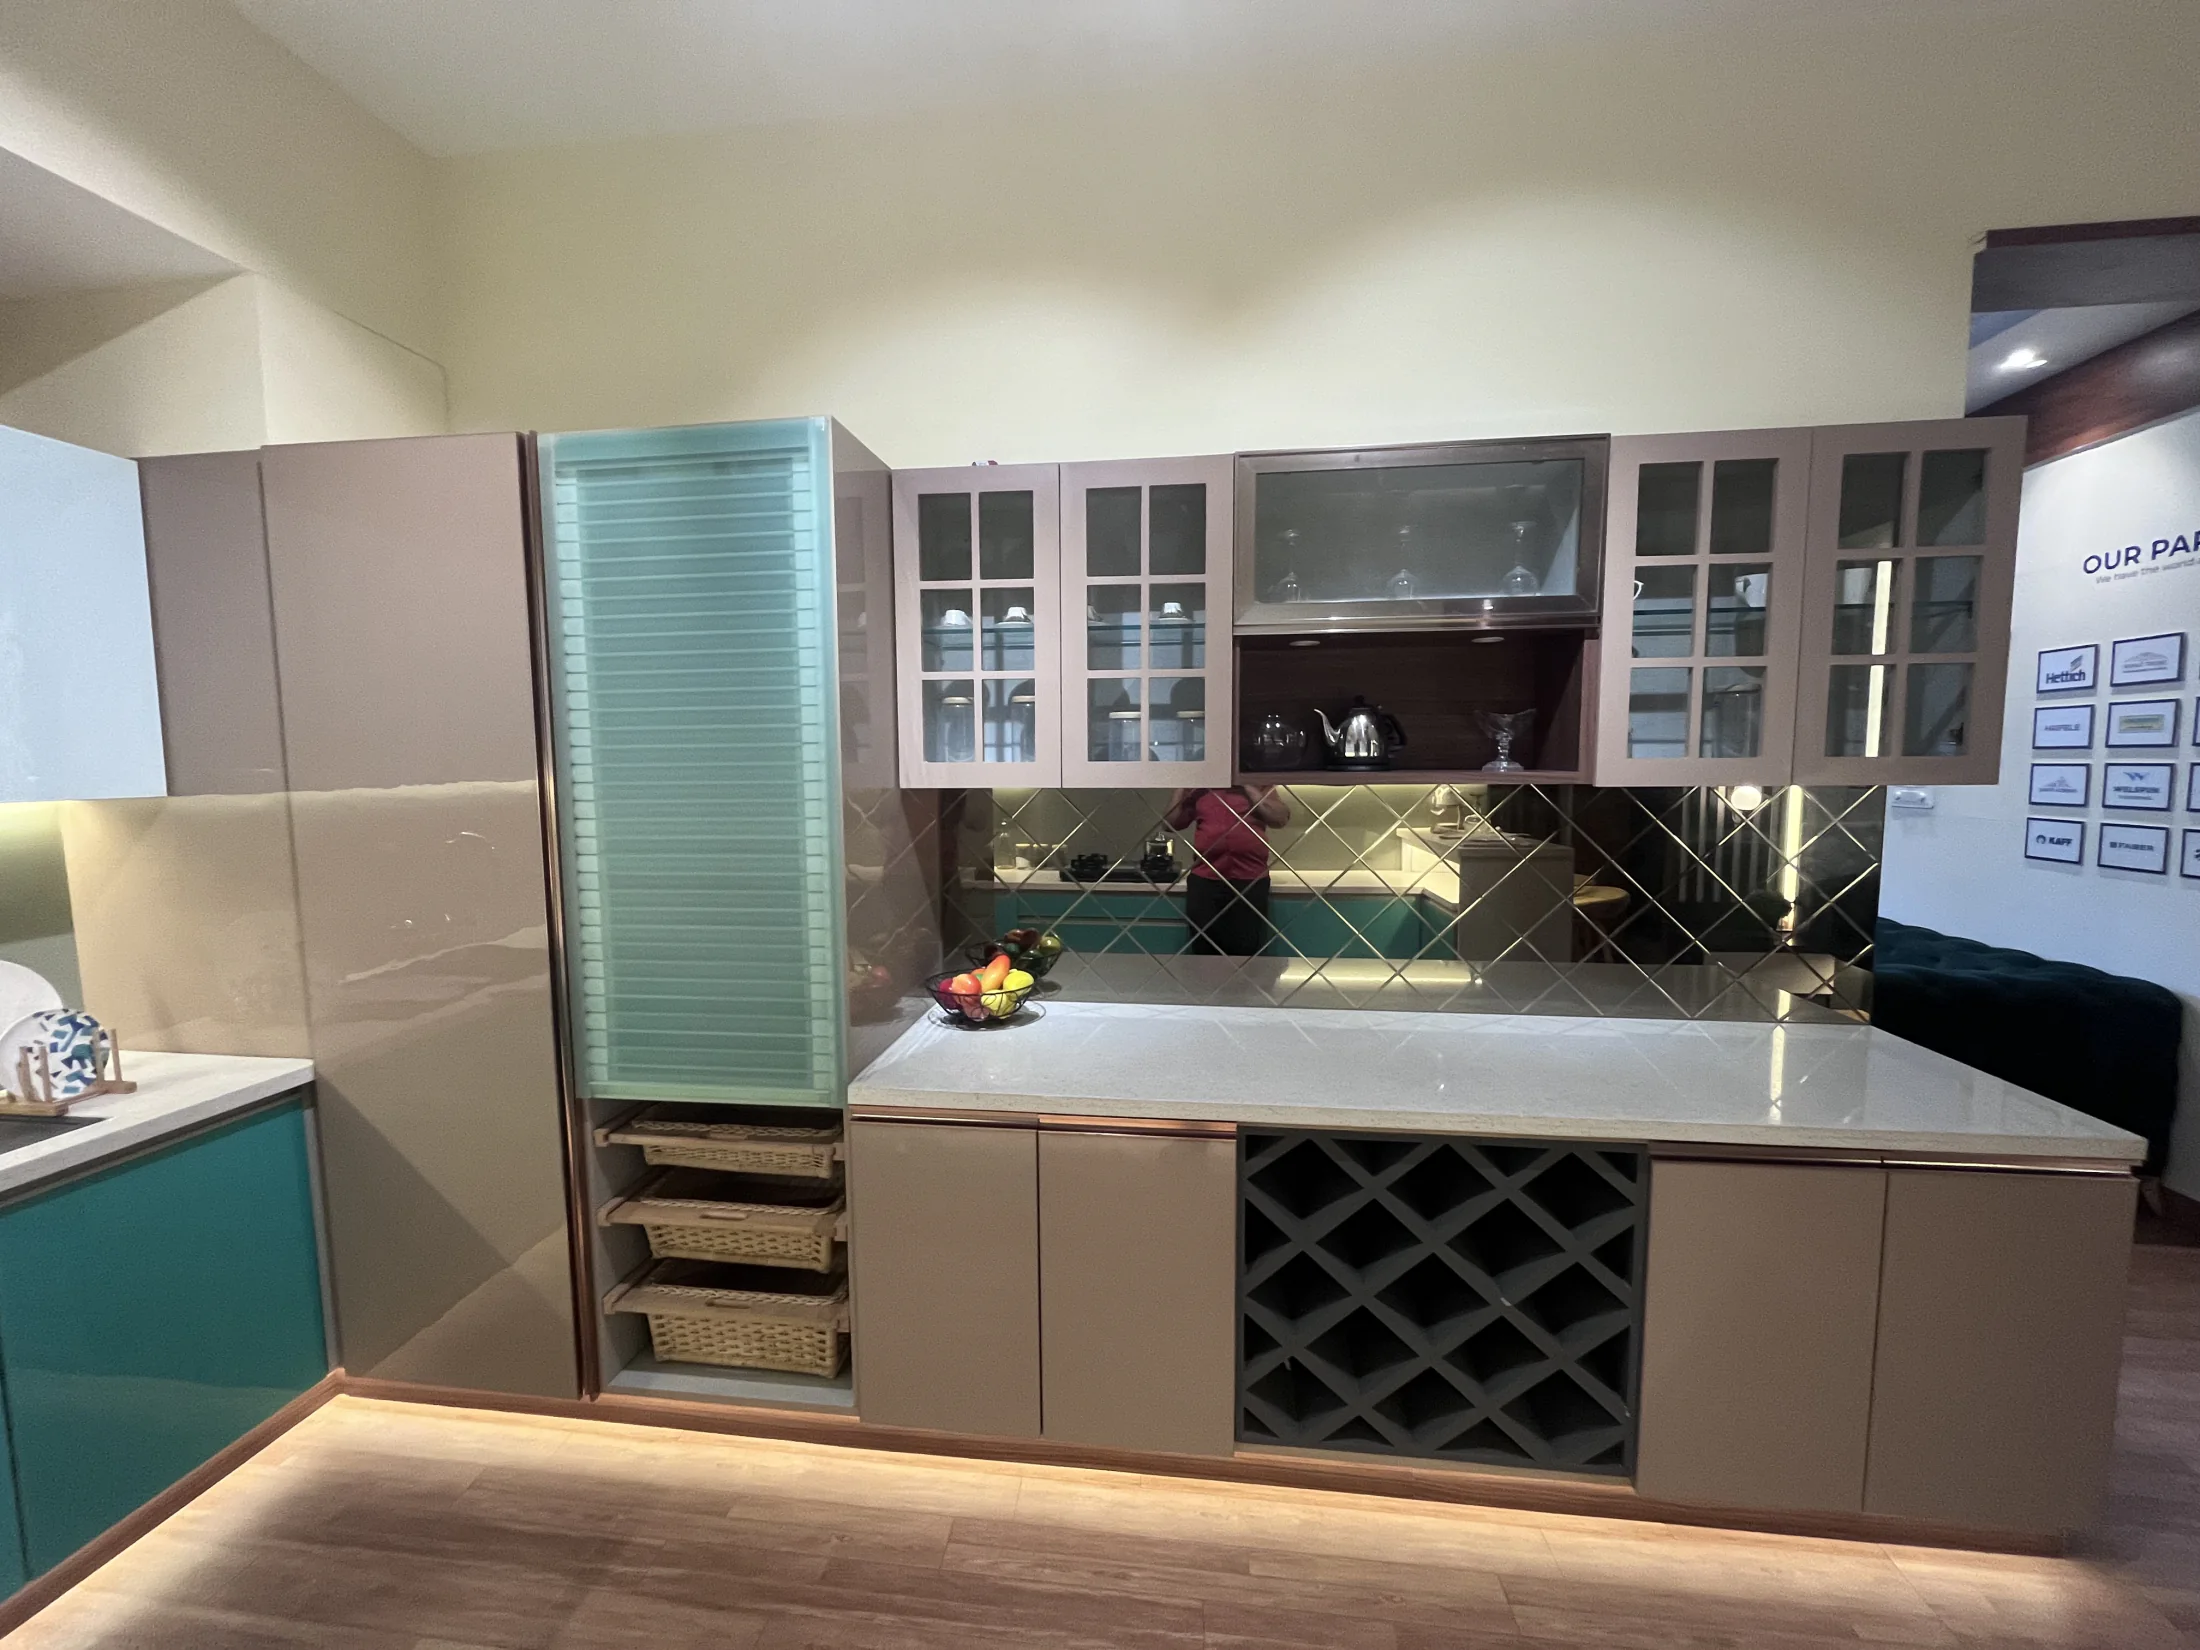
Write down every room you want the interior team to handle. Then list the fitted units inside each room. A kitchen may include lower cabinets, wall cabinets, tall storage and appliance housings. A bedroom may include a wardrobe, loft, dresser, study and bed-side units.
This prevents two common mistakes: pricing rooms that are not equally equipped and forgetting small units that become important later. Keep loose furniture, appliances and decorative purchases in separate rows so that everyone knows whether they are part of the interior scope.
2. Record the decisions that can change each unit
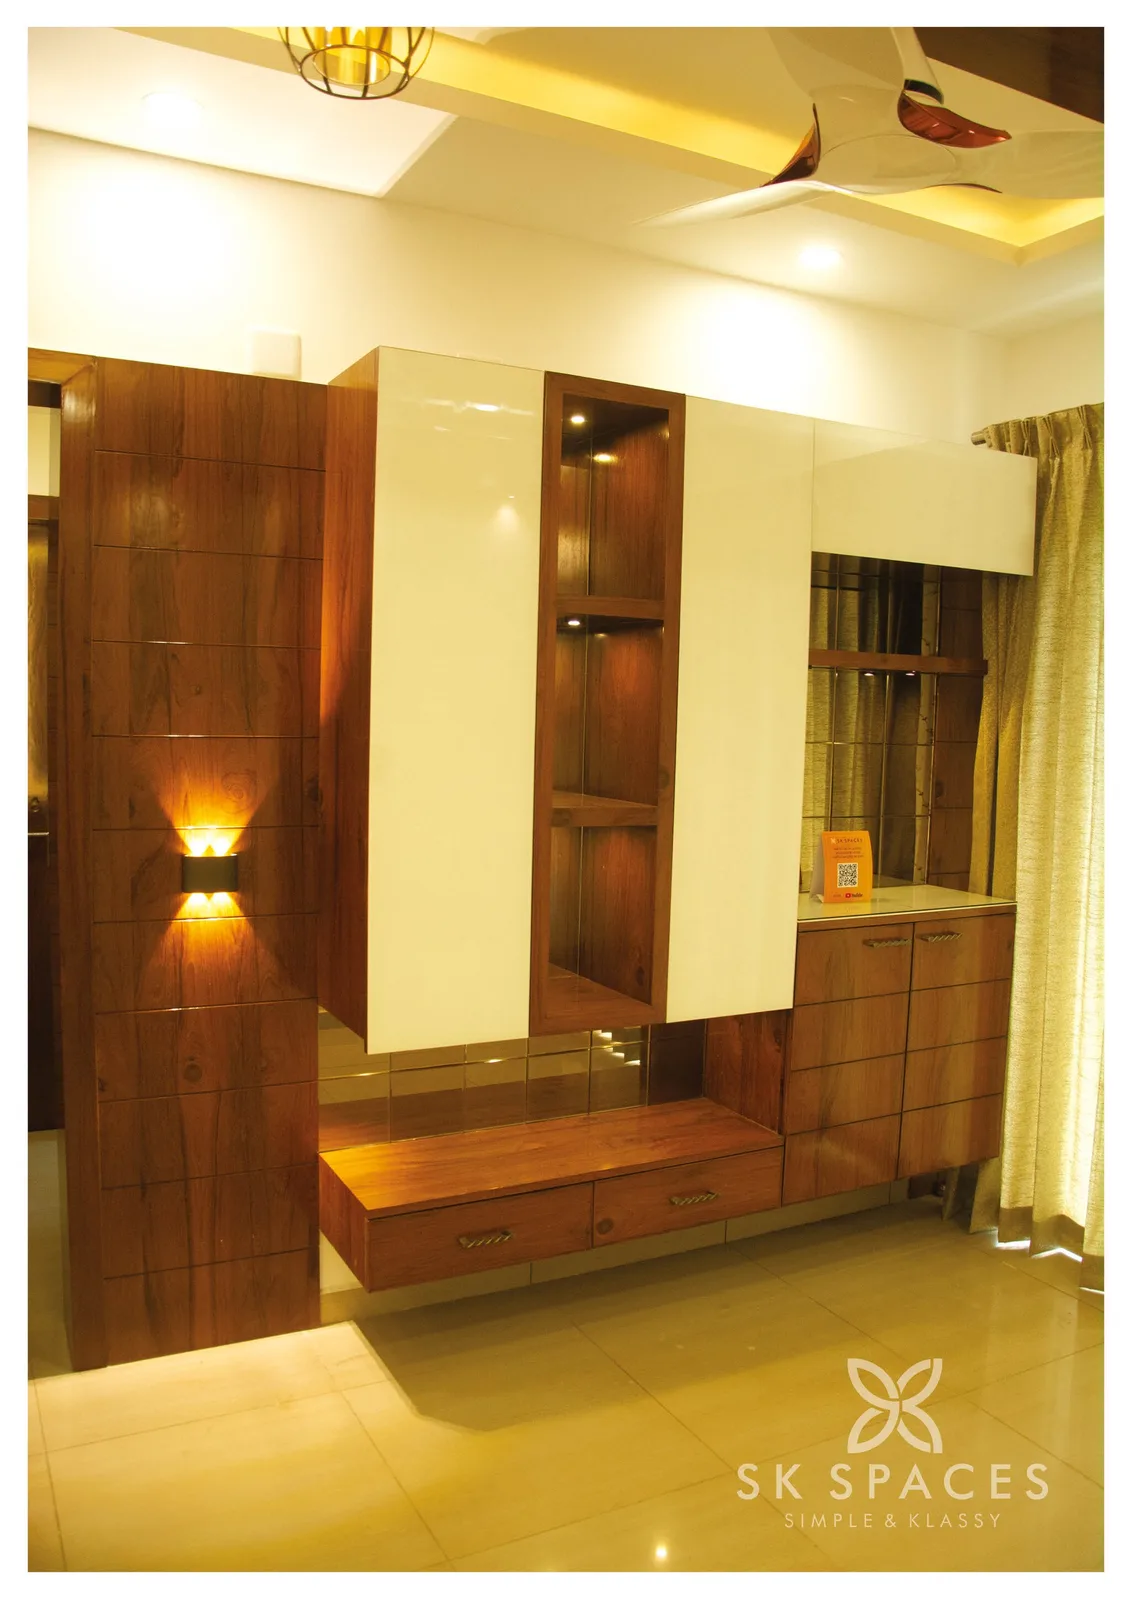
The size and number of units matter, but so do the specification and internal fittings. For each important unit, ask what board is used inside, what finish is visible outside, what edge treatment is included and which hinges, channels, baskets or lift-up systems are part of the quote.
Do not choose the highest specification everywhere by default. A frequently used kitchen drawer and an occasional loft have different jobs. Ask the designer to explain where an upgrade changes daily use, moisture exposure, maintenance or repairability.
- Opening and closing frequency
- Cleaning and moisture exposure
- Reach, load and storage access
- Quantity and unit dimensions
- Lead time and installation steps
- Later replacement or adjustment
3. Separate fitted interiors from connected site work
Electrical changes, plumbing, civil correction, painting, ceilings, dismantling, debris removal, appliance installation and deep cleaning may be inside the quote, assigned to another contractor or excluded. Any of those arrangements can work, but the responsibility and price should be visible before the site starts.
Add a name beside every connected task. If the builder or another vendor must complete something first, also record the required date. A budget is more reliable when it shows the handoffs that can stop the next team.
4. Keep unresolved choices and later changes visible
Mark every undecided finish, accessory, appliance and room as an allowance or pending decision. When a choice changes after approval, request the added cost and timeline effect in writing before the change proceeds.
Keep the approved room list, specification, exclusions, taxes, payment stages and every later change together.
5. Bring the same information to every quote meeting
Share the floor plan, site location, possession or renovation constraints, room list and appliance list. Ask each designer to return the quote against those same inputs. Then use the room-by-room quote comparison guide to check whether the work matches before you compare totals.
Your first budget worksheet
- List every room included now.
- List every fitted unit in each room.
- Add approximate dimensions or quantities.
- Write the internal board, visible finish and hardware.
- Separate appliances and loose furniture.
- Assign electrical, plumbing, painting and civil work.
- Show taxes, transport and other charges.
- Mark undecided items and later changes.
- Connect payments to understandable work stages.
- Keep a final handover amount and pending-work list clear.
A useful cost discussion ends with a scope your family can read. If the room list changes, update the scope before treating the total as comparable.
Share your floor plan with SK Spaces.
Include your home size, location and the rooms you want to work on.
Share my floor plan