Coastal planning is not solved by one “waterproof” label. Start with the room, likely moisture, ventilation, cleaning routine and how easily a component can be adjusted or replaced.
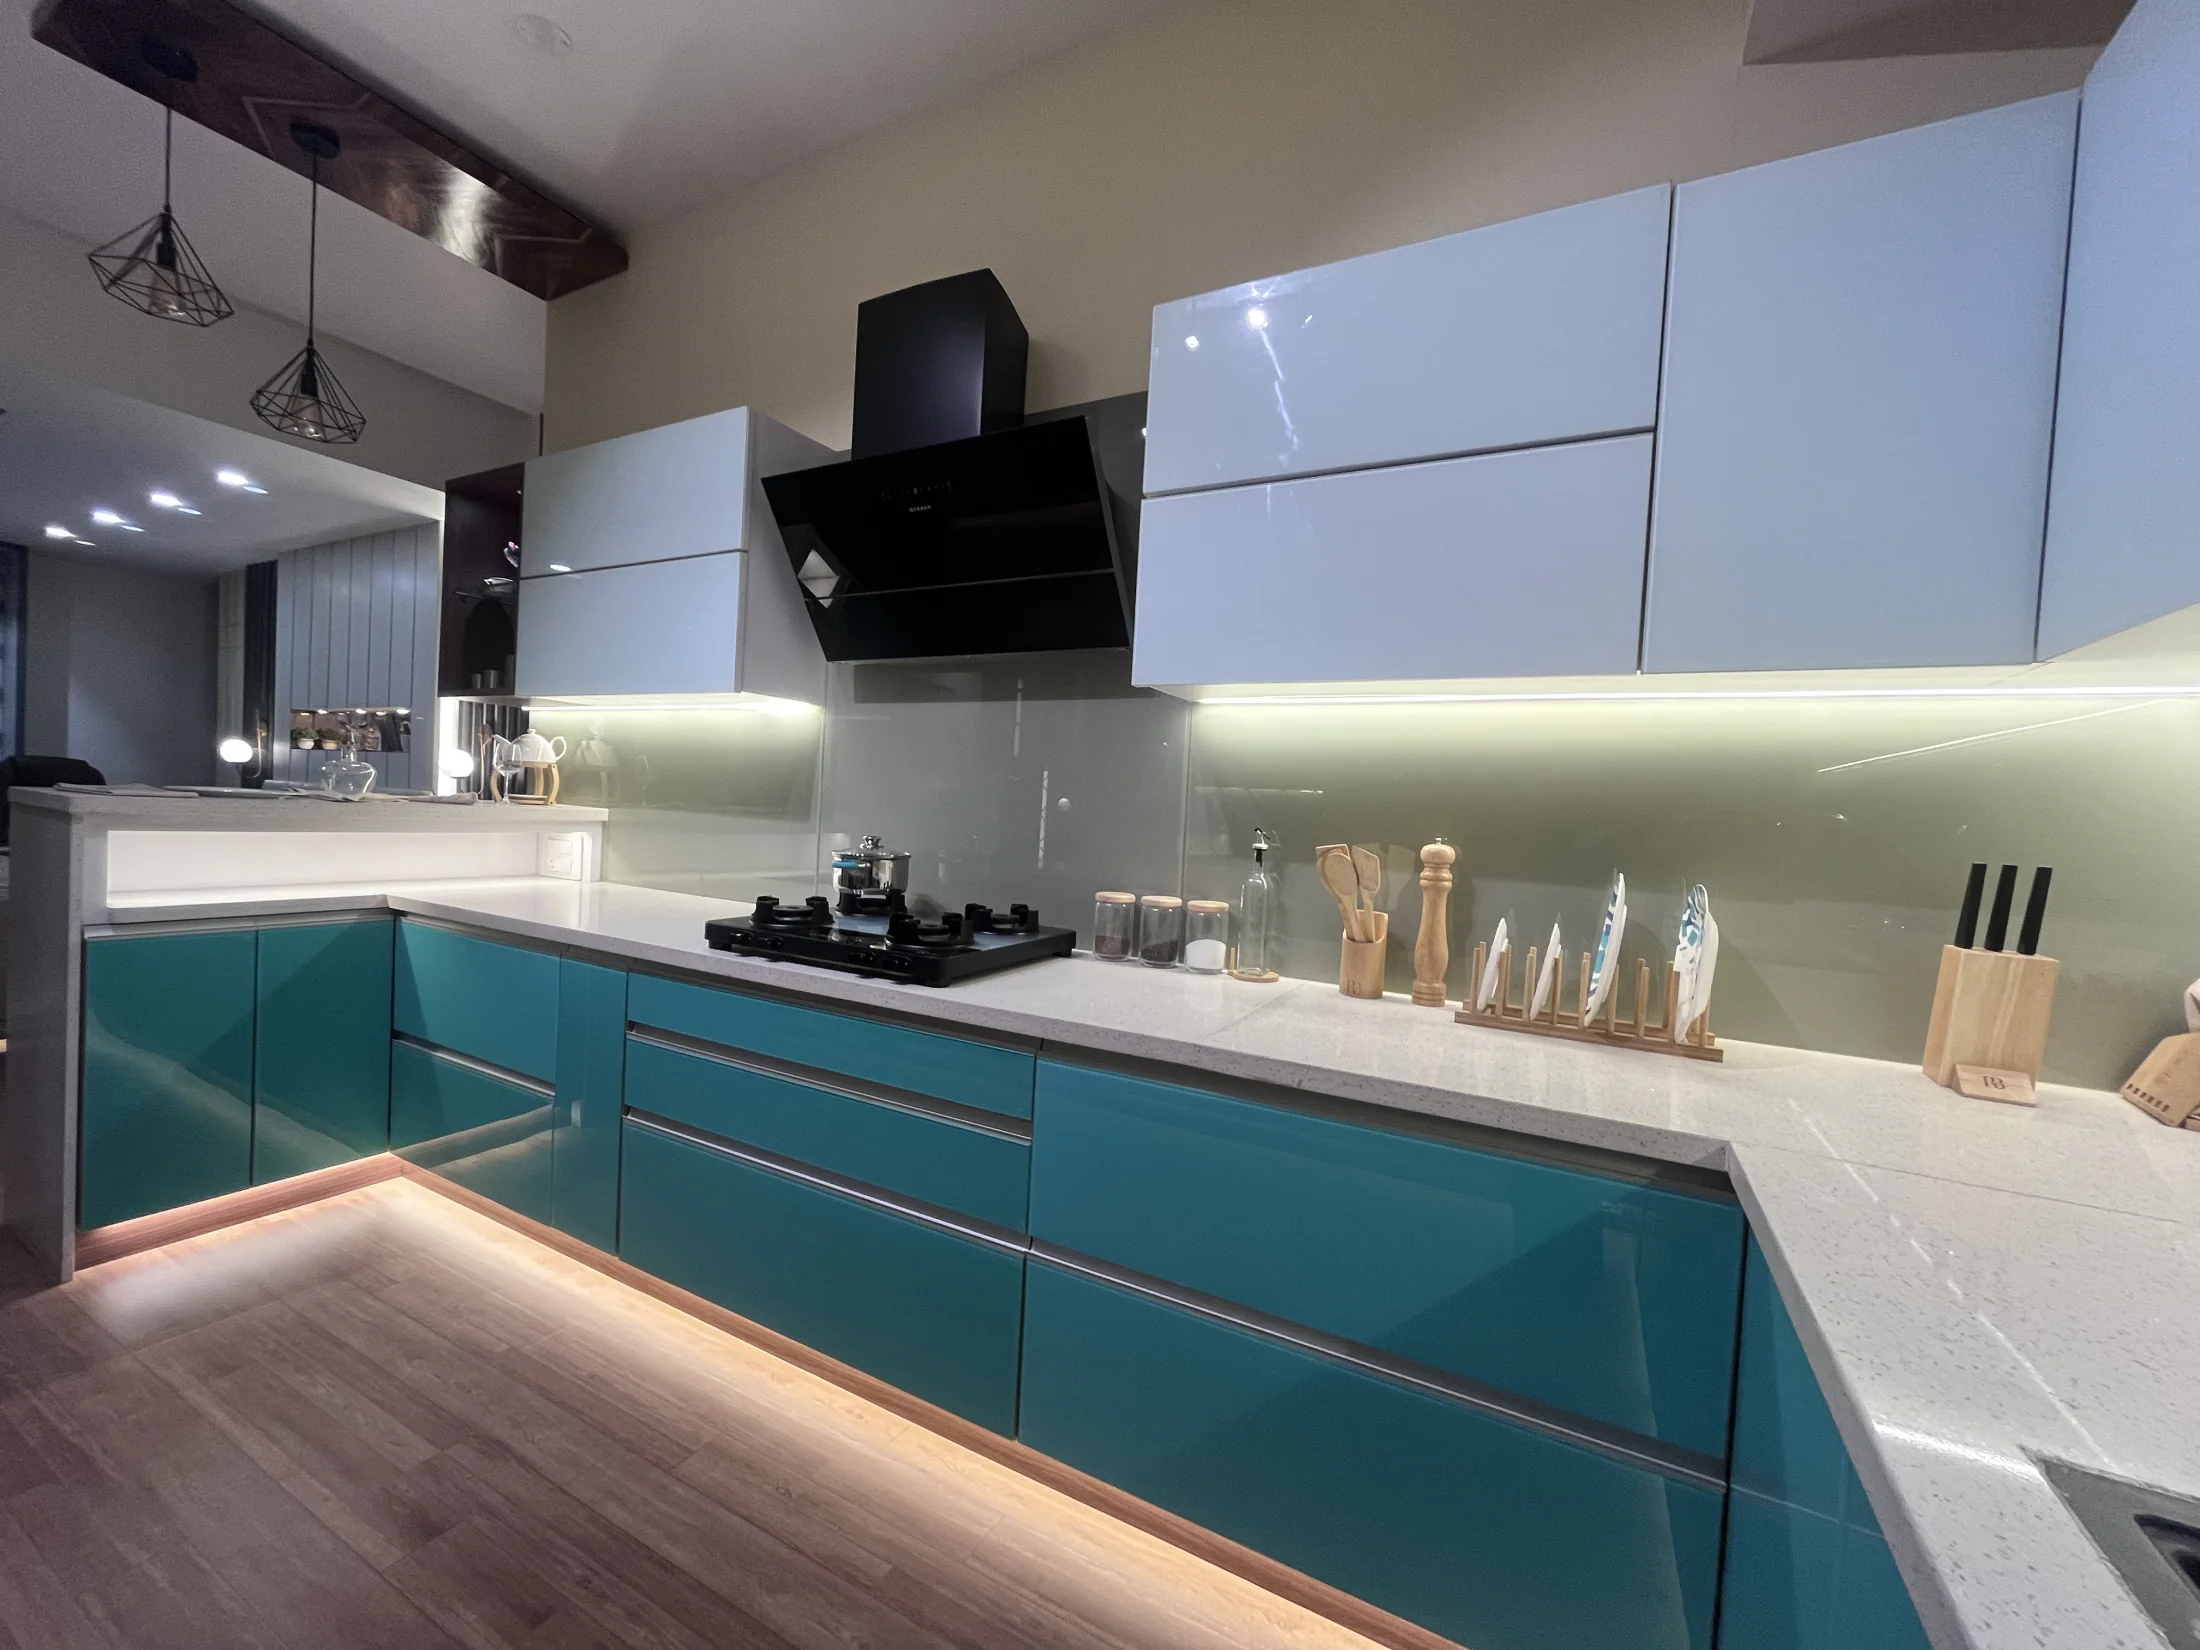
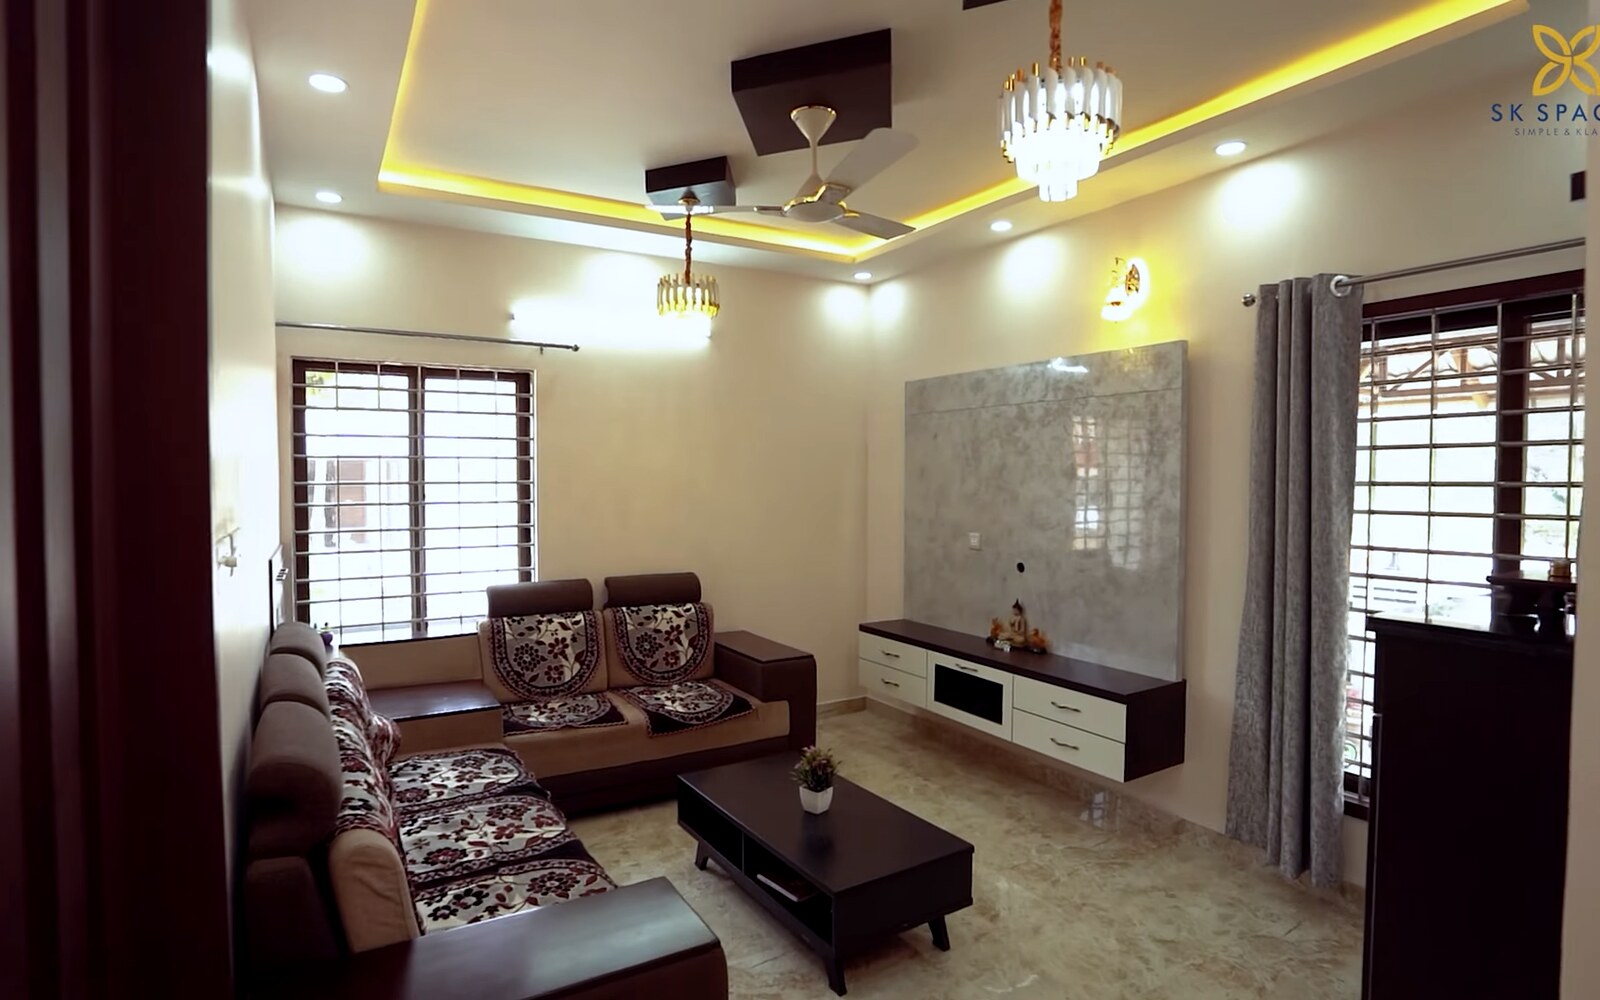
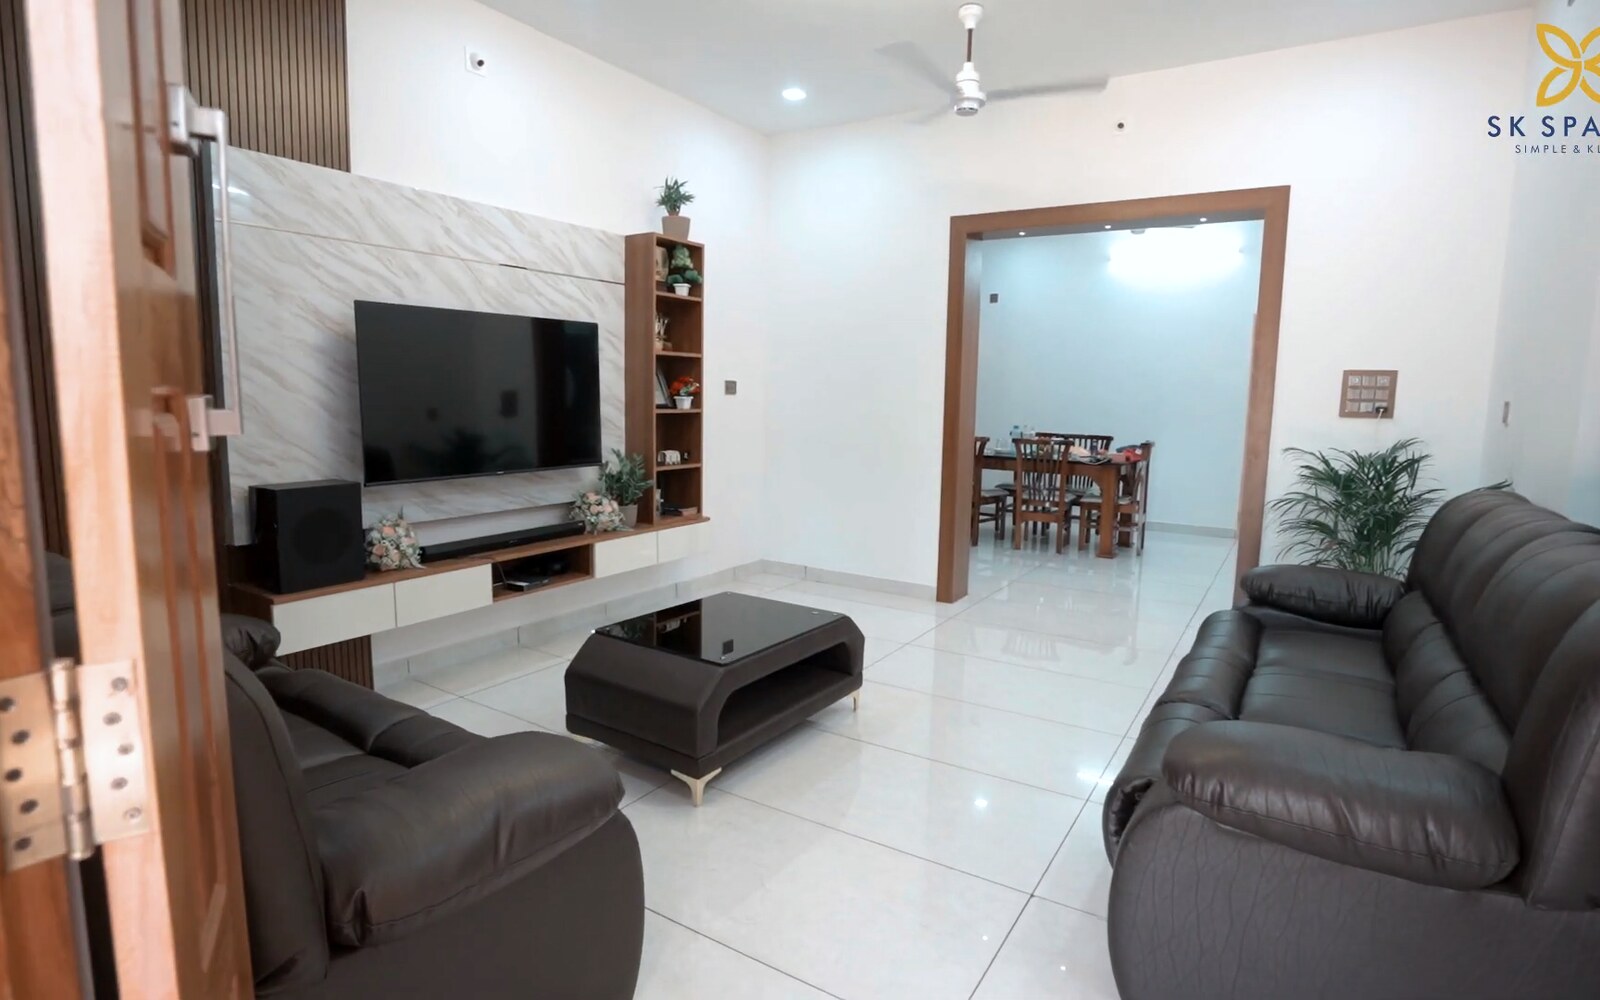
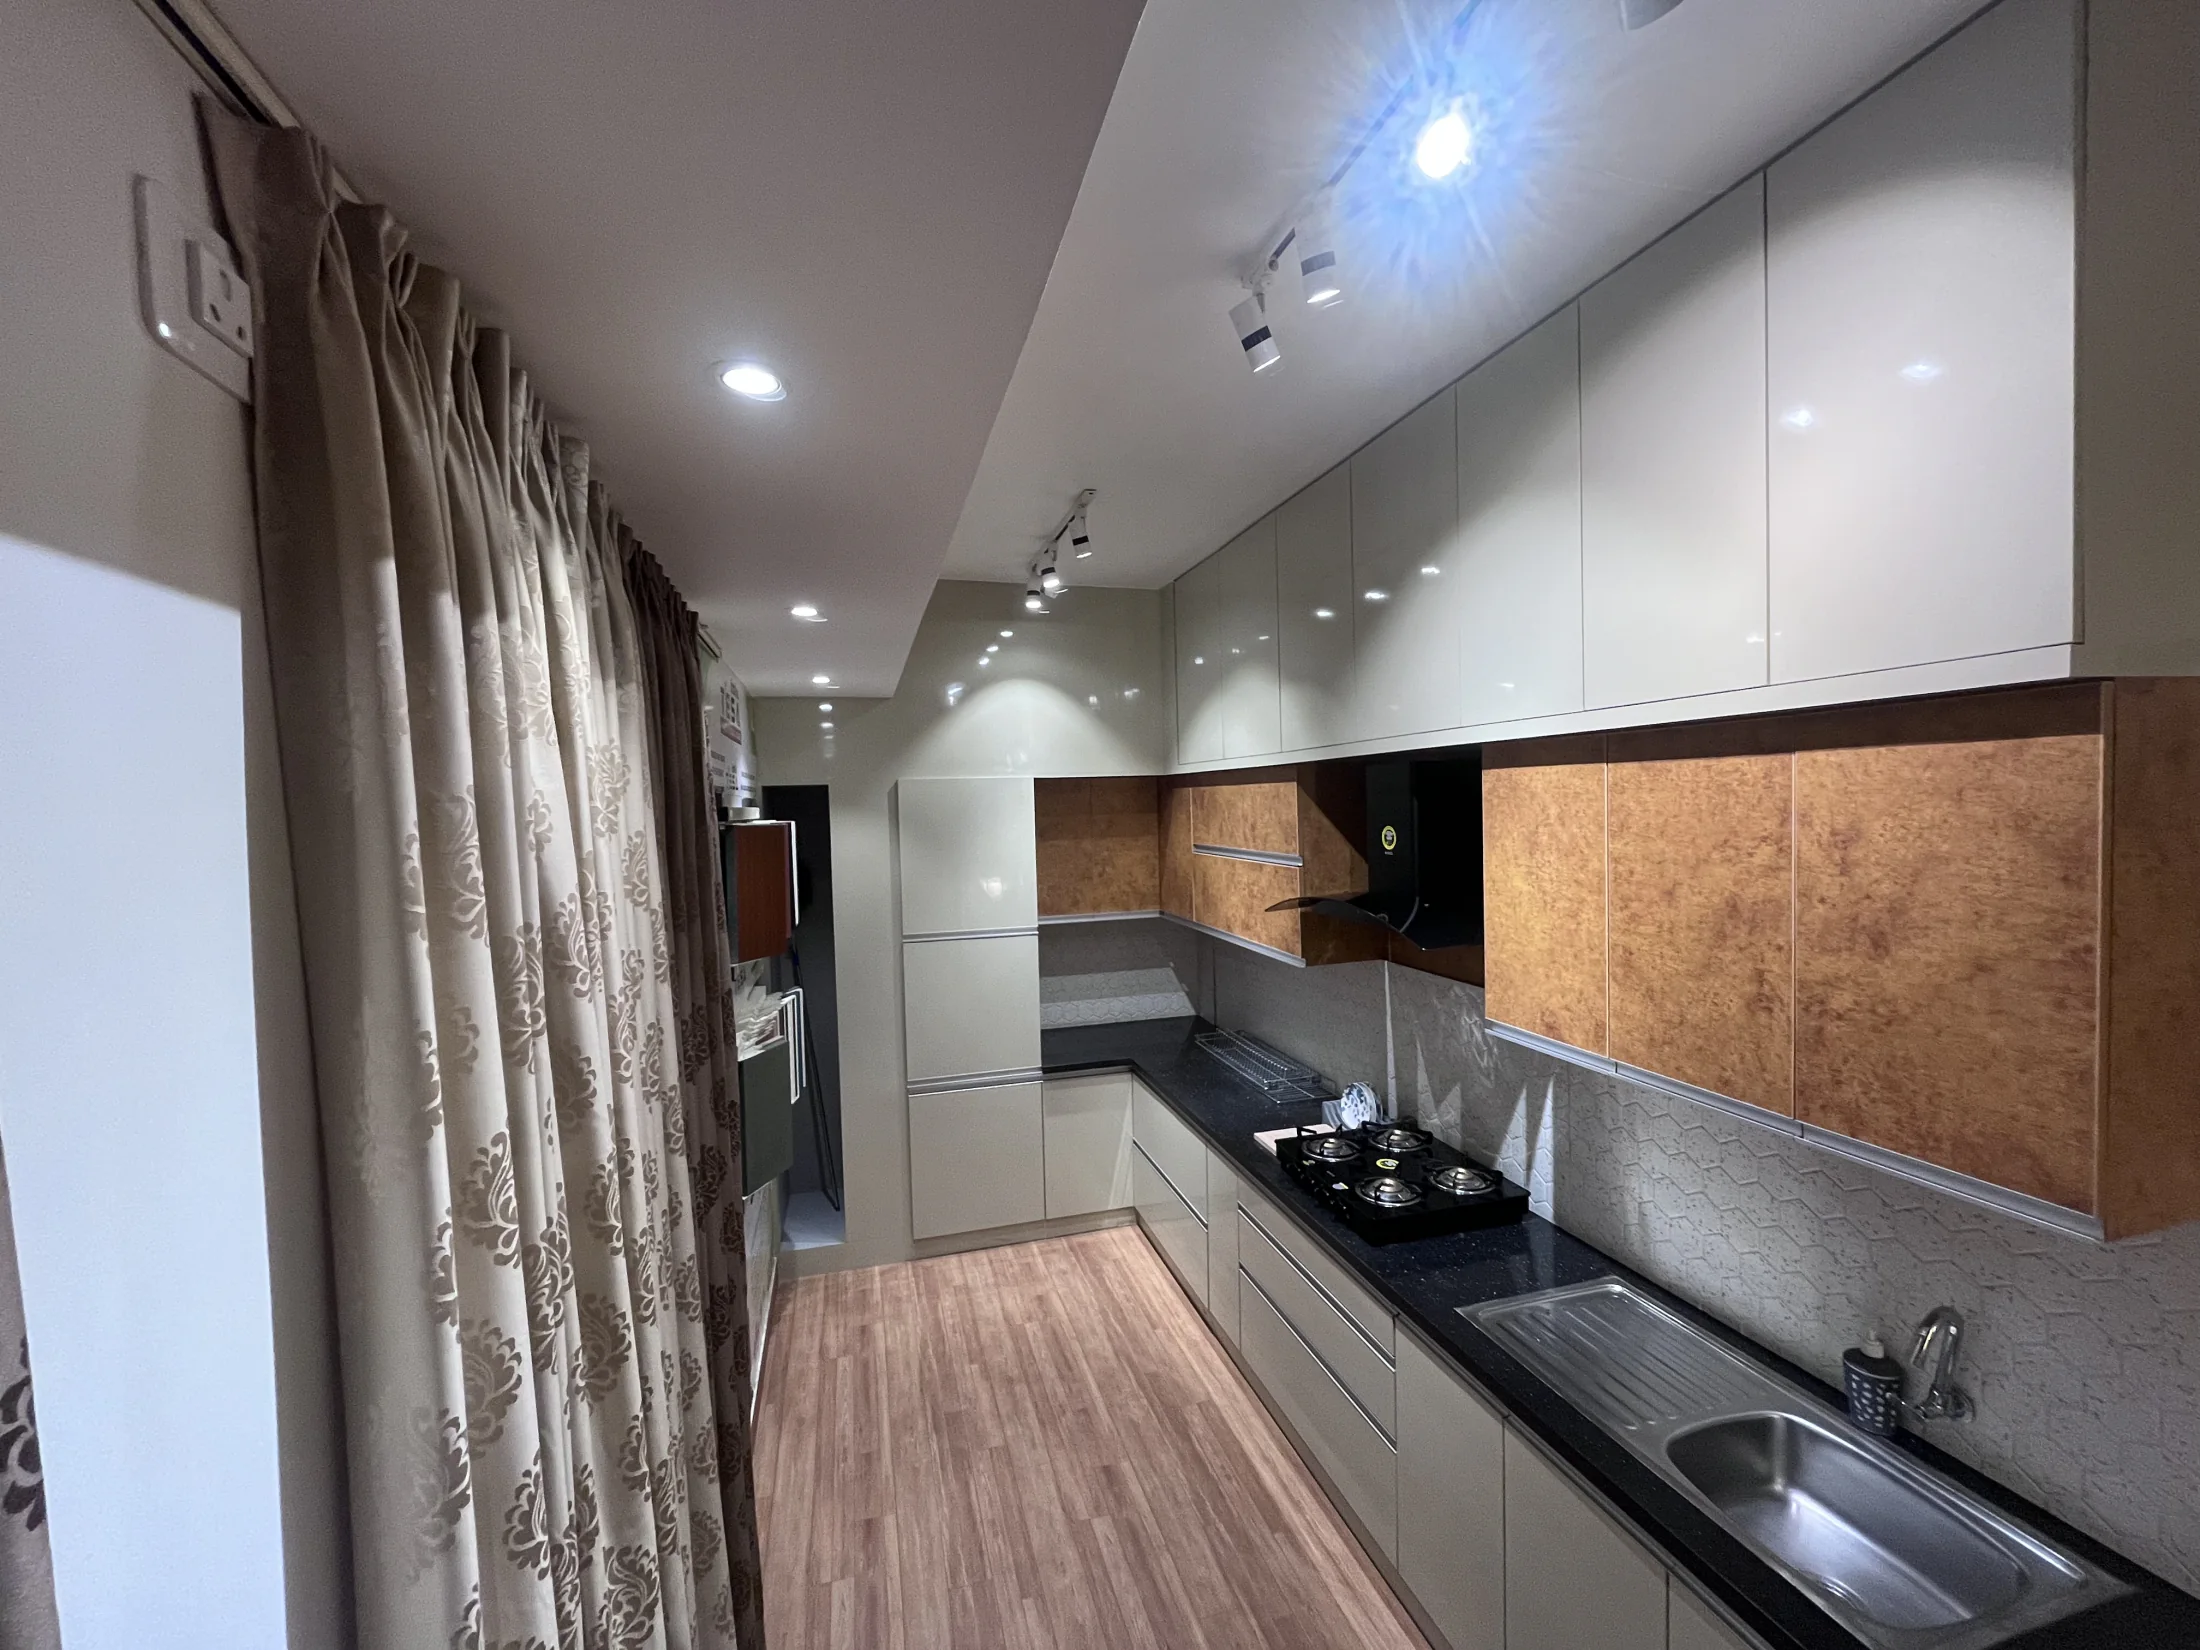
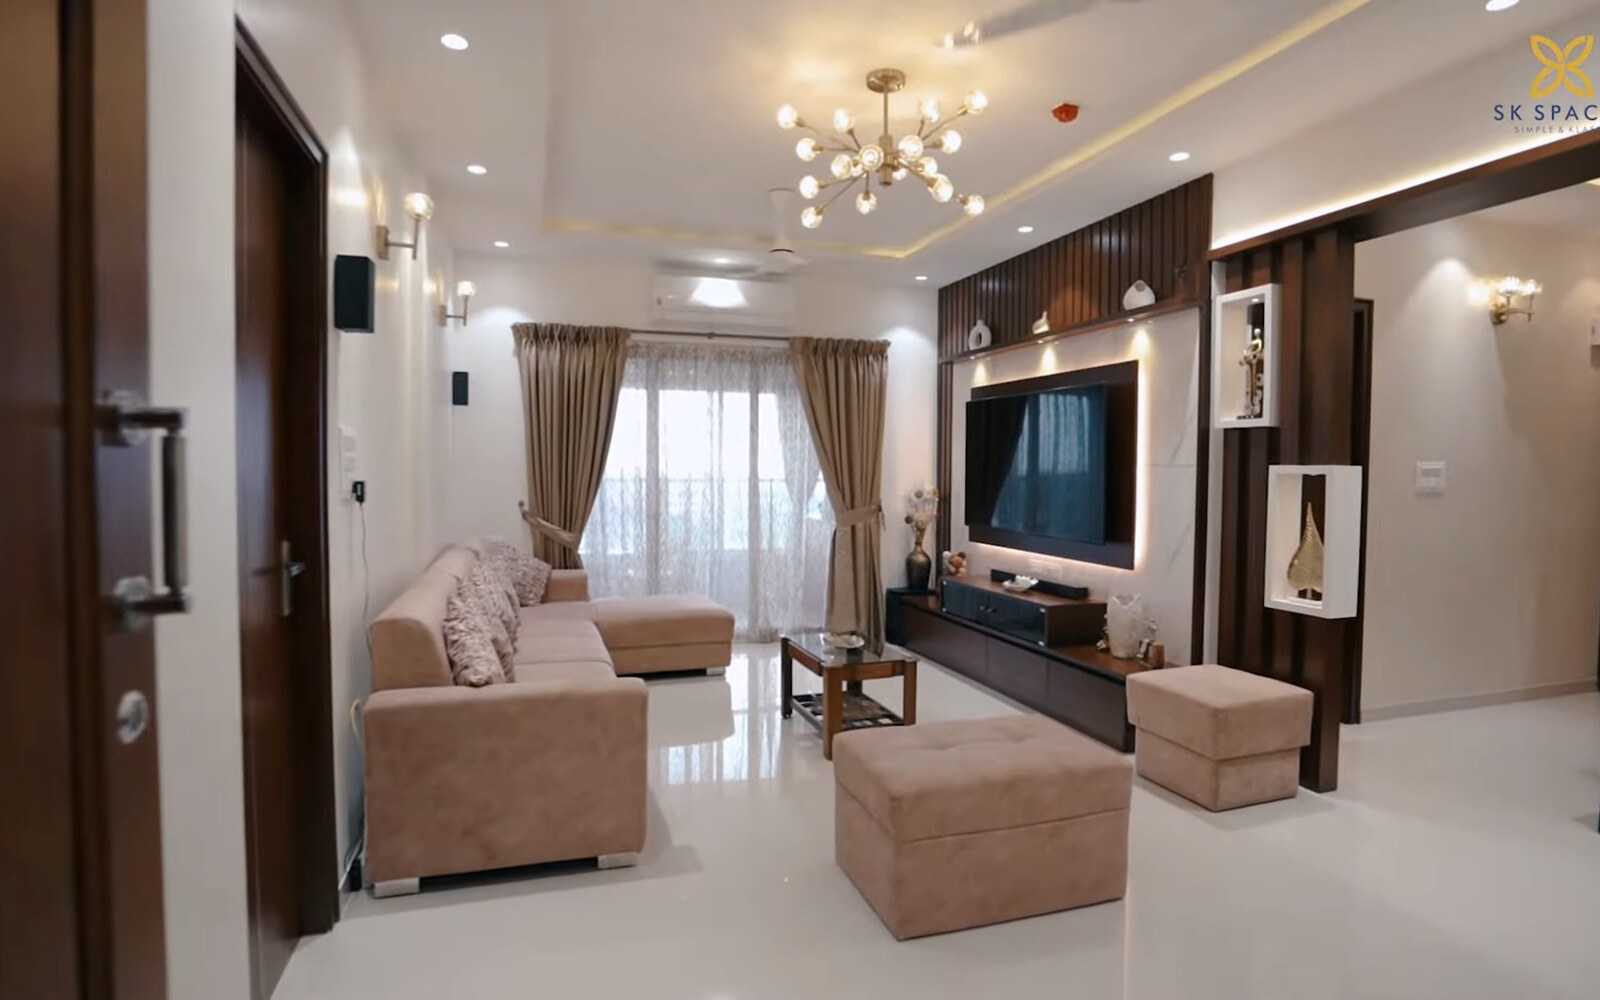
The images below show completed SK Spaces rooms. Confirm the exact board, finish, hardware and treatment for your home in the written room schedule.
- 01ExposureWater, steam, salt air and cleaning
- 02CoreBoard or substrate named in writing
- 03EdgesCut-outs, joins and sealing
- 04HardwareHinges, channels and fasteners
- 05Air and careVentilation, access and maintenance
1. Map the actual exposure room by room
A sink cabinet, utility area, bathroom vanity, window-side unit and dry bedroom wardrobe do not face the same conditions. Mark plumbing points, wet cleaning zones, exterior walls, direct sun, poor airflow and any history of seepage before selecting cabinet materials.
Fix active leakage or damp walls before enclosing them. Keep access to plumbing joints and appliance services. Ventilation and a practical cleaning routine are part of the material plan, not an afterthought.
2. Ask for the board grade and product identity in writing
“Plywood” is not one complete specification. Ask for the manufacturer, product, thickness and grade planned for each unit. The Bureau of Indian Standards' IS 303 product framework uses MR, BWR and BWP grade designations. The label still needs to be matched to the room and supported by the product documentation supplied for your order.
Do not treat a higher-sounding grade as permission to ignore workmanship. Cut edges, sink cut-outs, joints, fastener positions and exposure during site work all matter. You can review the BIS product manual for IS 303 and ask the supplier to explain the marking on the product being used.
3. Check moving parts, fasteners and edge details
Ask which hinges, drawer channels, lift systems, handles and fasteners are included and where each is used. Check load, opening angle, adjustment access and replacement availability. Near sinks and utility areas, ask how metal parts are selected and protected for the expected exposure.
At installation, inspect edges around plumbing, worktops and appliance cut-outs. Ask how gaps are sealed while still allowing required ventilation and service access. Avoid vague “all marine” statements; the written schedule should name the component.
4. Choose finishes around use and repair, not colour alone
Compare how a finish handles daily wiping, fingerprints, heat, scratches and direct sunlight. Ask to see a physical sample under the room's light. Record the approved colour and product reference; similar names can look different across batches and suppliers.
5. Carry the material schedule into handover
Keep the final room schedule, invoices or product labels supplied for the job, care instructions and applicable written warranty terms. Photograph concealed services before they are closed where practical. At handover, use the aftercare checklist to record adjustments and pending work.
Your coastal-material meeting list
- Mark wet, humid, exterior-wall and low-airflow areas.
- Resolve leakage or dampness before cabinetry.
- Name board manufacturer, product, grade and thickness.
- Name the visible finish and edge treatment.
- List hinges, channels, fasteners and accessories.
- Keep plumbing and appliance services accessible.
- Confirm ventilation and heat clearances.
- Record cleaning and maintenance instructions.
- Keep product labels and written terms at handover.
- Inspect cut-outs, joins, edges and moving parts.
A strong coastal specification is room-specific and readable. Ask the designer to show exactly where every material is used and why it suits that exposure.
Share your floor plan with SK Spaces.
Include your home size, location and the rooms you want to work on.
Share my floor plan